The goal of this project is to create a two-color print using just one block of rubber. You’ll come away with a limited edition stack of prints for keeping or gifting!
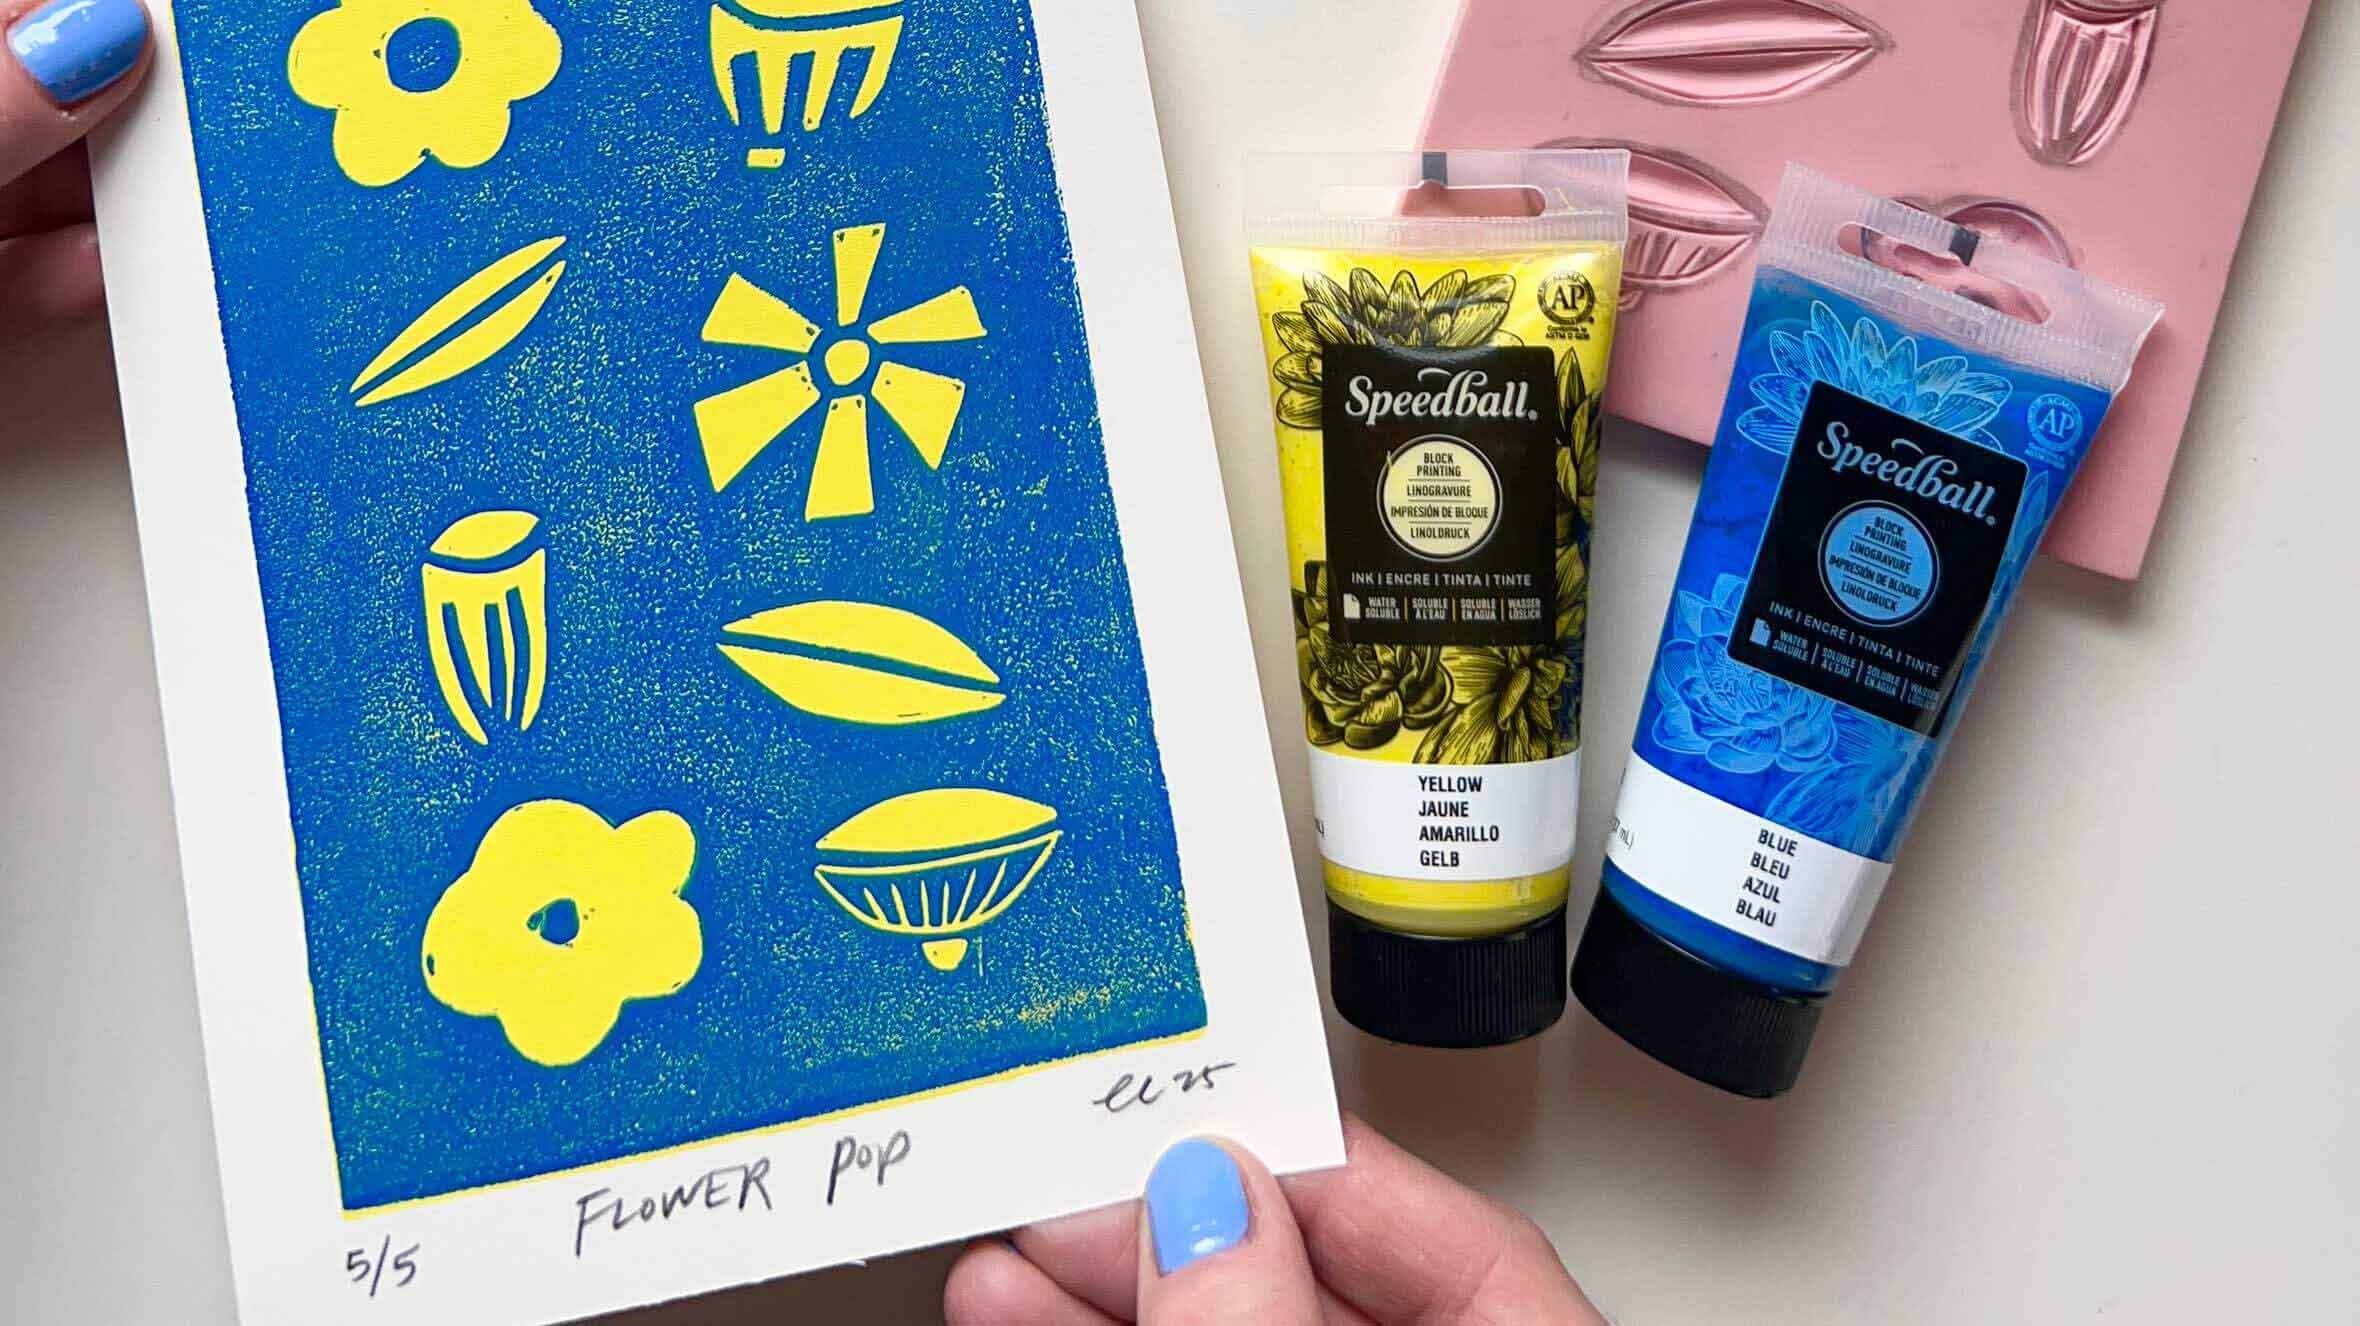
The first step will be deciding on your design. You can go as simple or as complex as you’d like. You’ll also want to consider your ink choices; choose two ink colors to use, one lighter and one darker. We’ll be printing the lighter color first, using the whole 4"x6" rubber block, as a sort of backdrop for the carved image. Think about how the darker ink color will really pop against the lighter backdrop.
For this project, you will need:
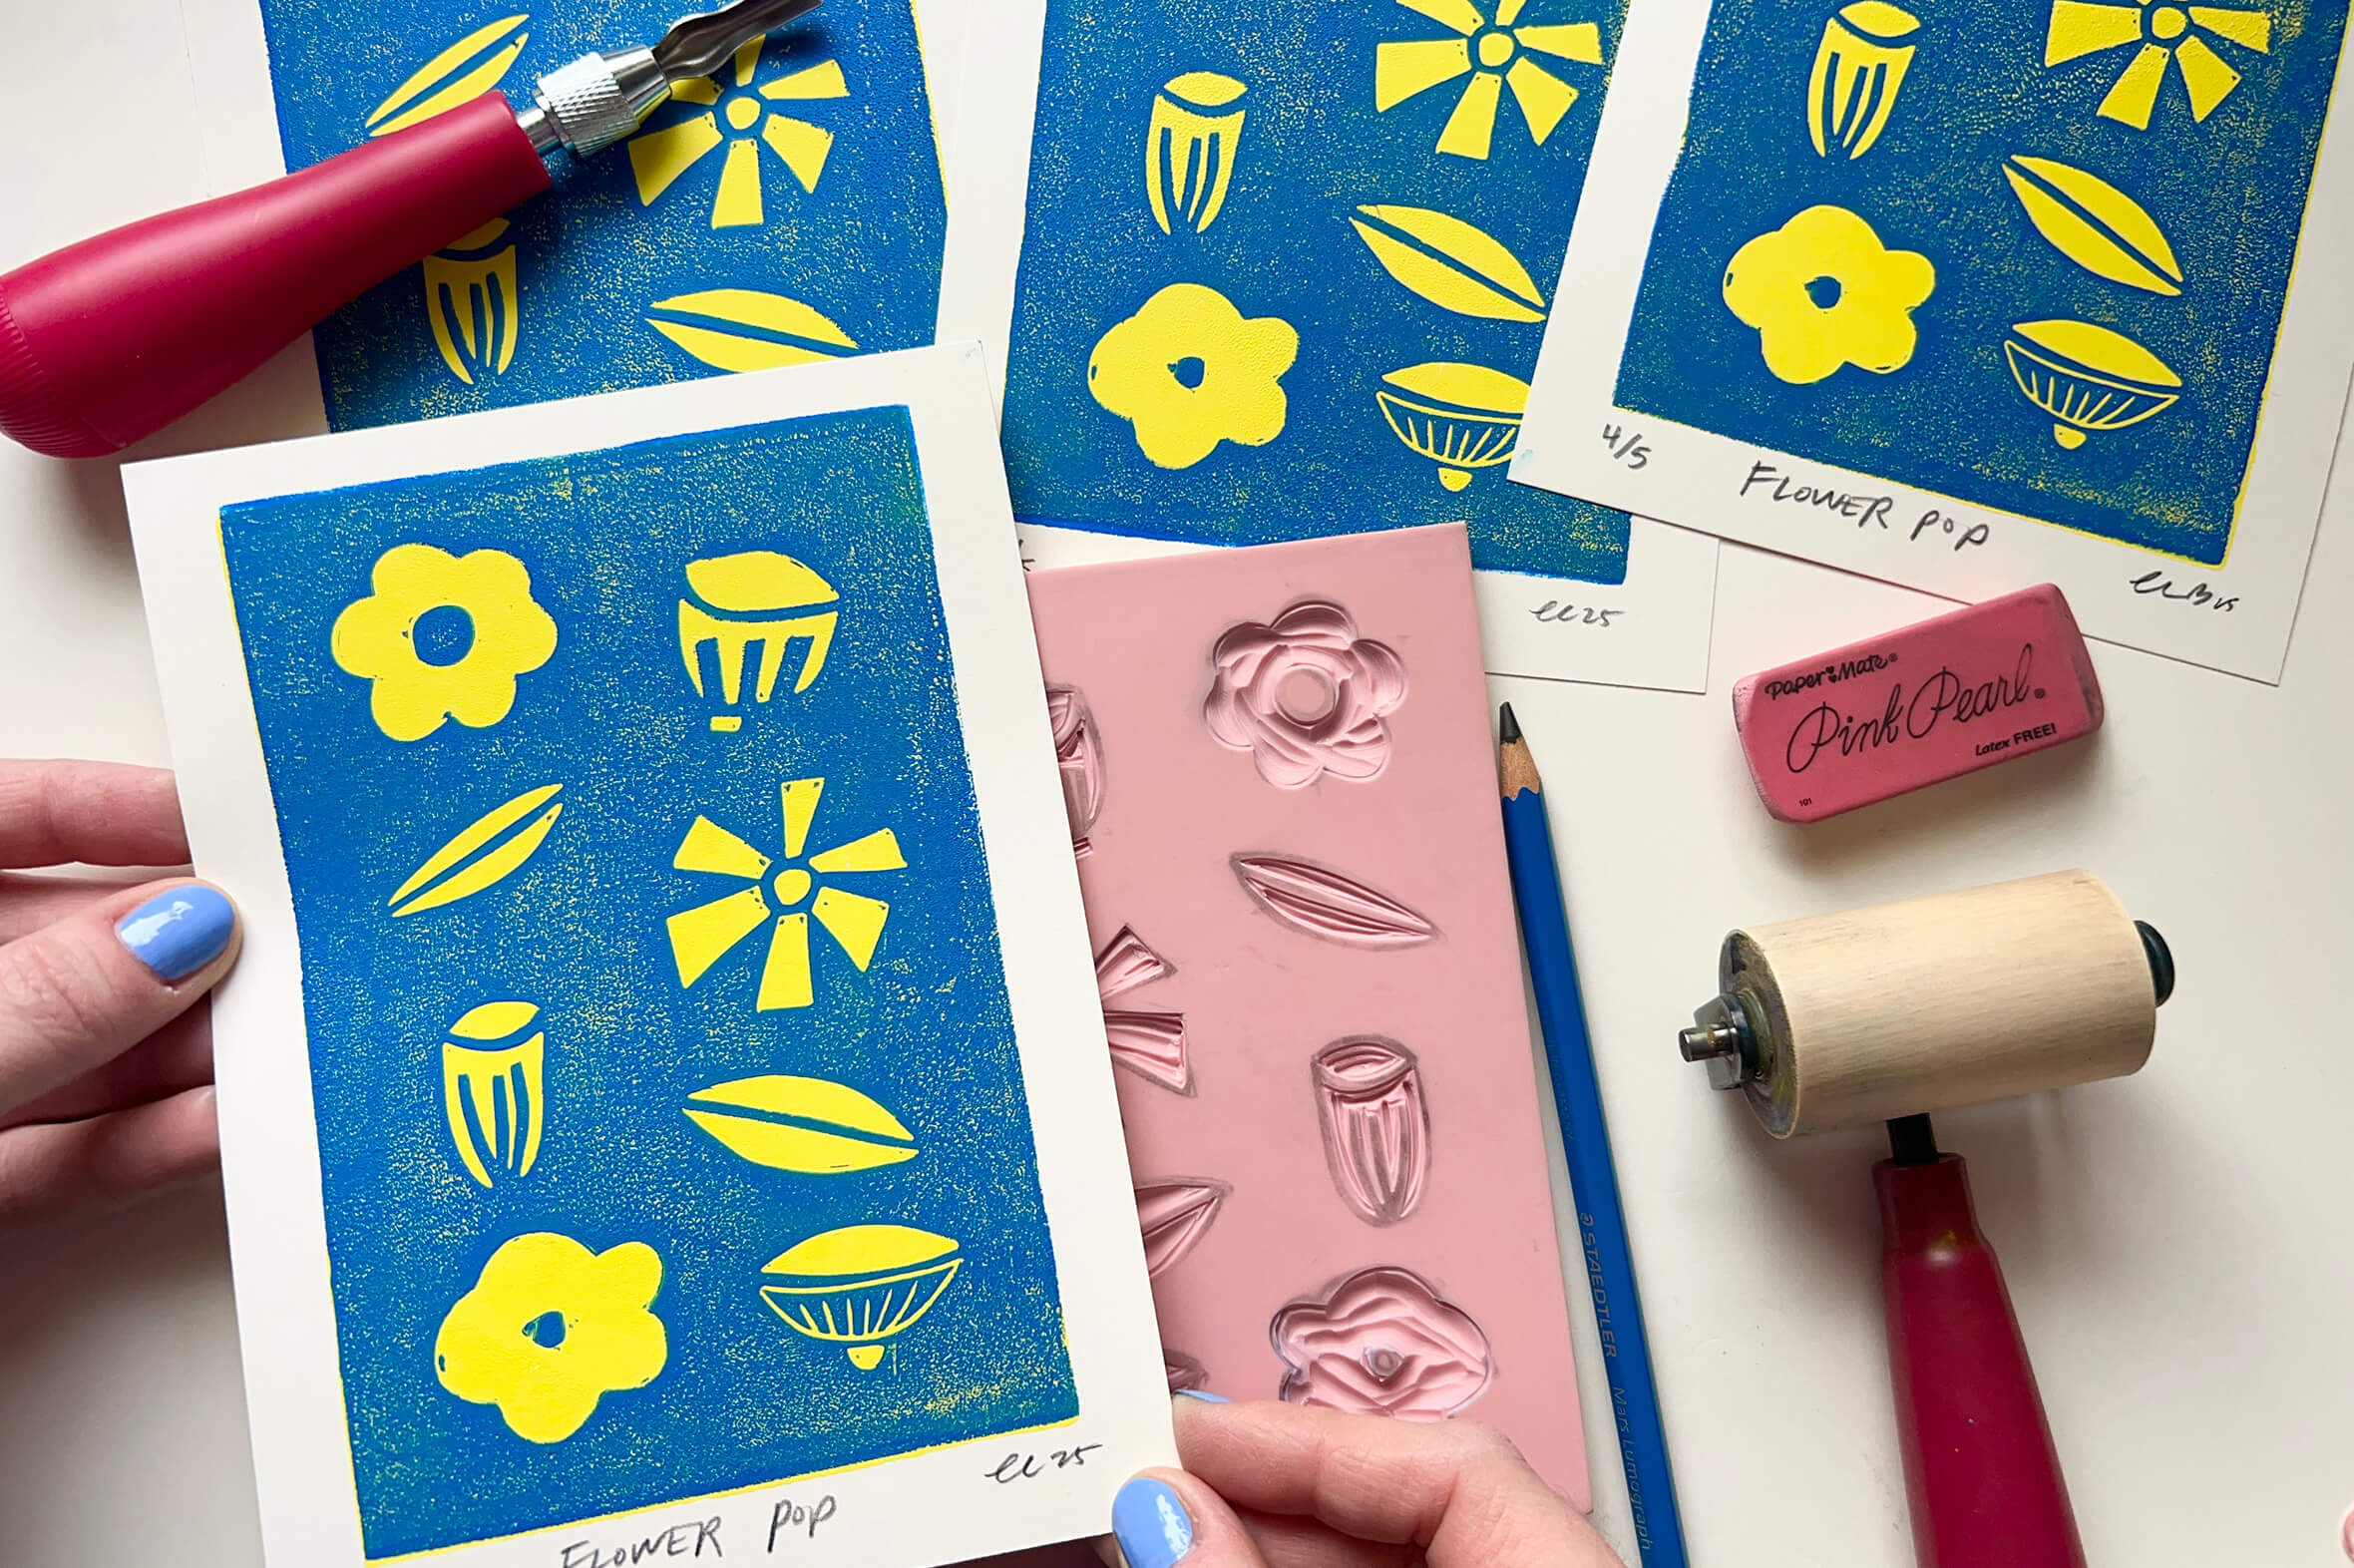
- One 4"x6" block of pink Speedy Carve rubber
- One Speedball Linoleum Handle (set of 5 cutters)
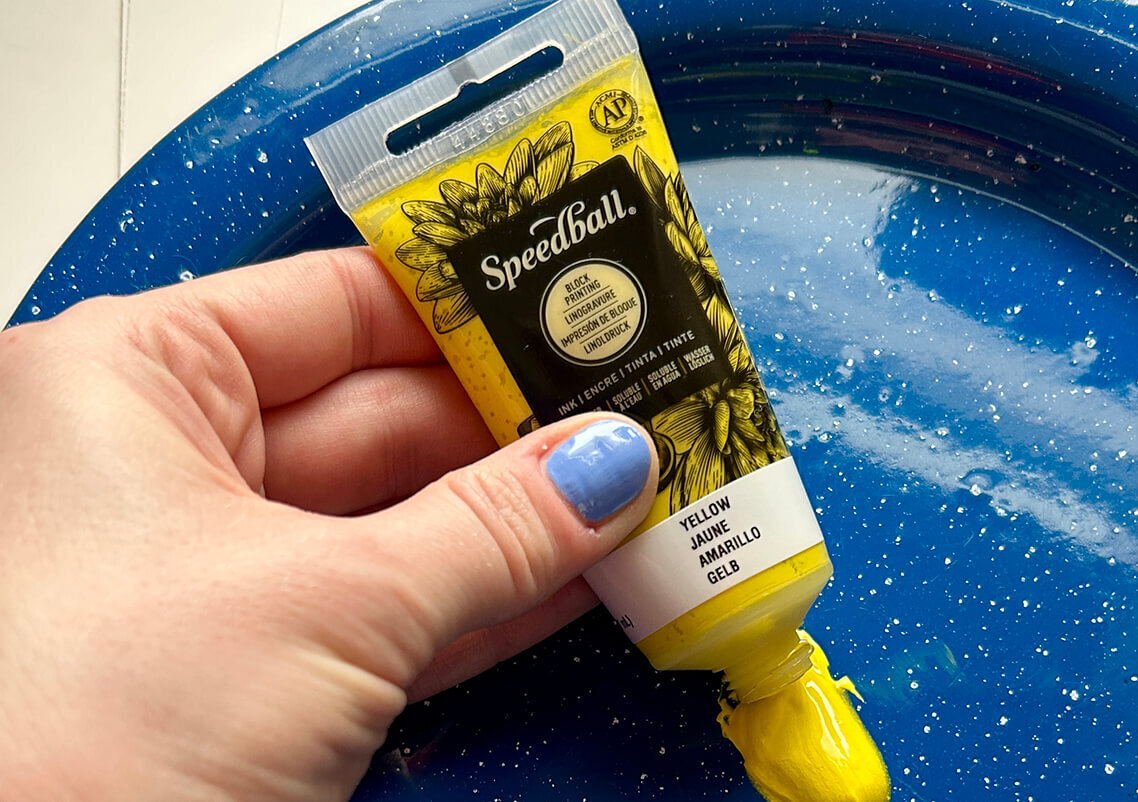
- Two colors of Speedball Waterbased Blockprinting Ink (ideally one lighter color and one darker)
- One 2" Speedball Soft Rubber Brayer
- One soft lead pencil (6B, any brand)
- Several sheets of 4"x6" printer paper
- Several sheets of 5"x7" card stock or other thick paper for your final prints
- An eraser
- A pair of scissors
- A surface for rolling out ink (non-porous works best; an acrylic sheet, glass palette, or even a plate will work)
- Optional: A Speedball baren is useful but not required
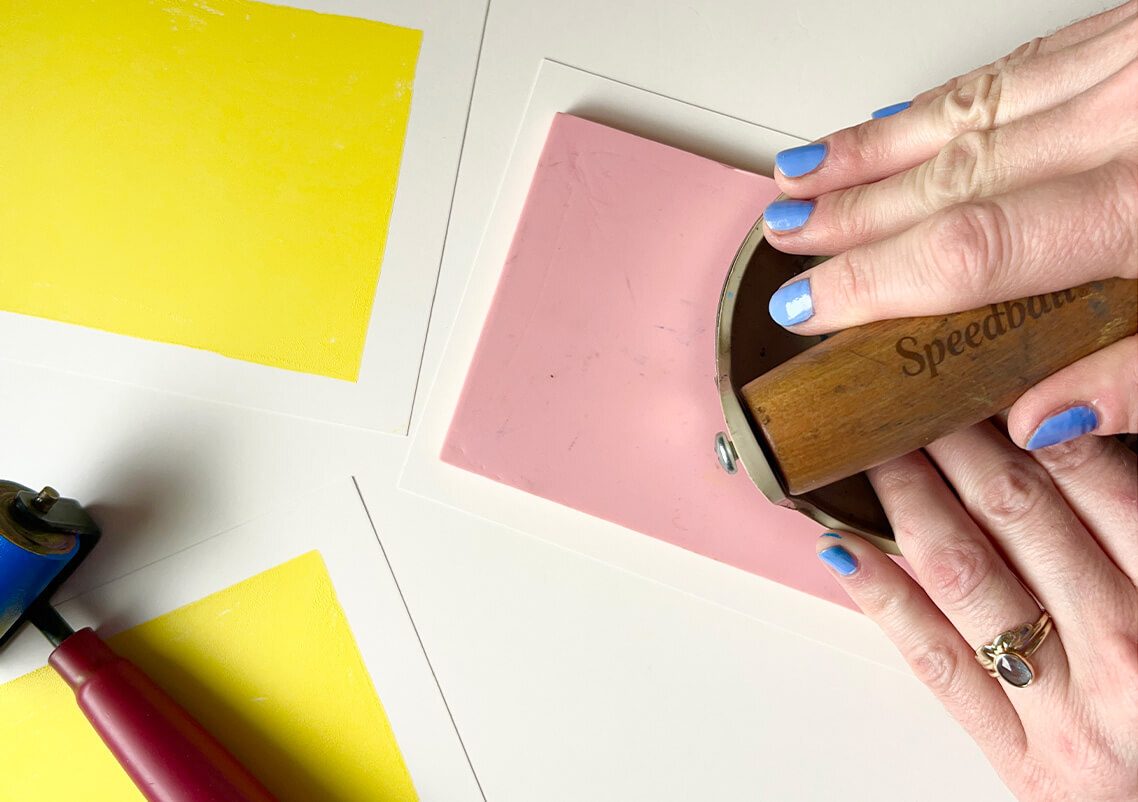
Step 1: Roll out your Ink
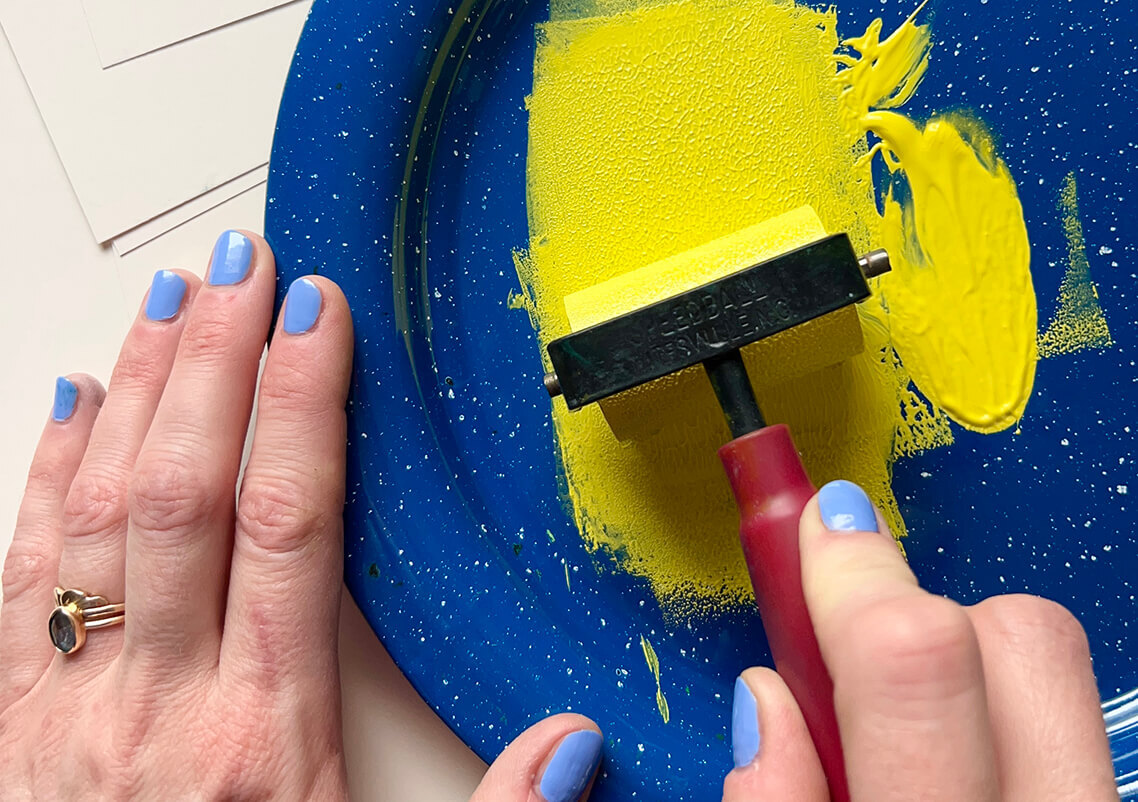
We’ll start by printing the lighter color ink (in this case, yellow) on our cardstock. Decide how many prints you’d like in your limited edition (we’re going for 5). Squeeze a small amount of ink onto your inking surface, and gently roll it out using the brayer.
You should hear a nice “Velcro” sound, which means the ink is ready to apply to the block. We want to find the balance between too much ink (gloopy!) and not enough (dry and patchy).
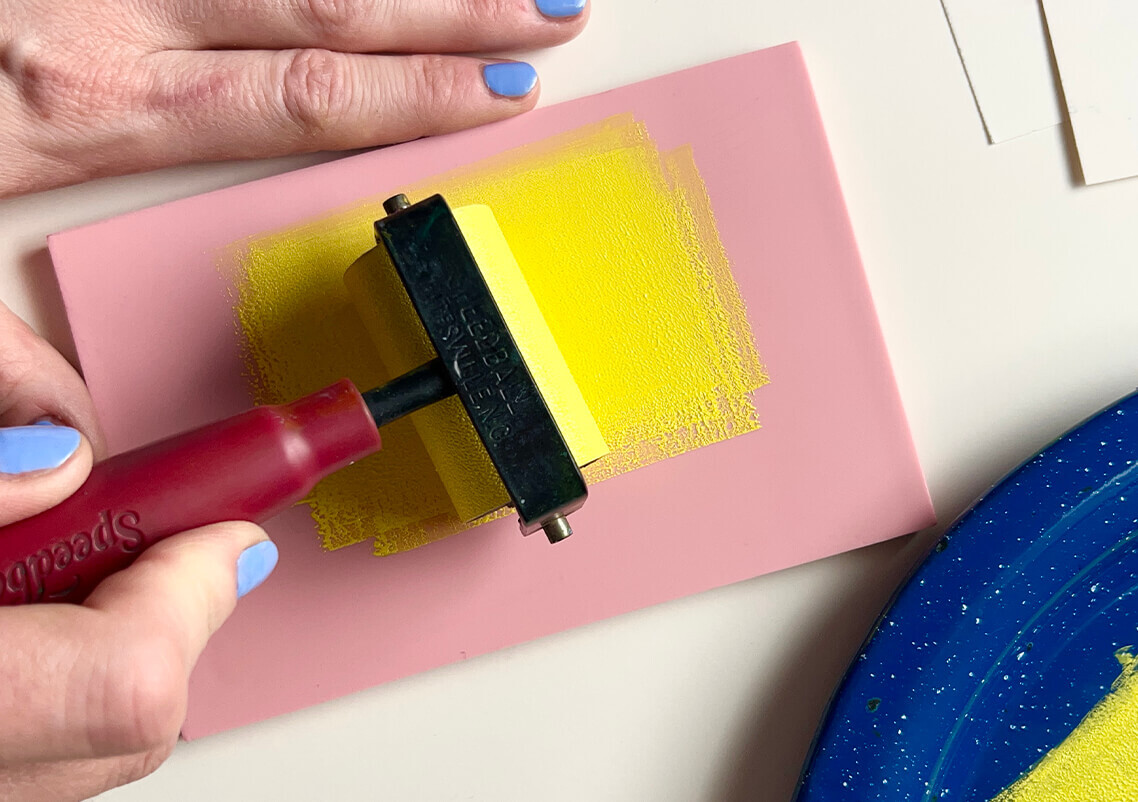
Step 2: Ink + Press
Cover your block completely in ink, and flip it over onto one of the 5"x7" papers. Use even pressure with your hands (or with the optional baren) to make sure all areas of the block come into contact with the paper.
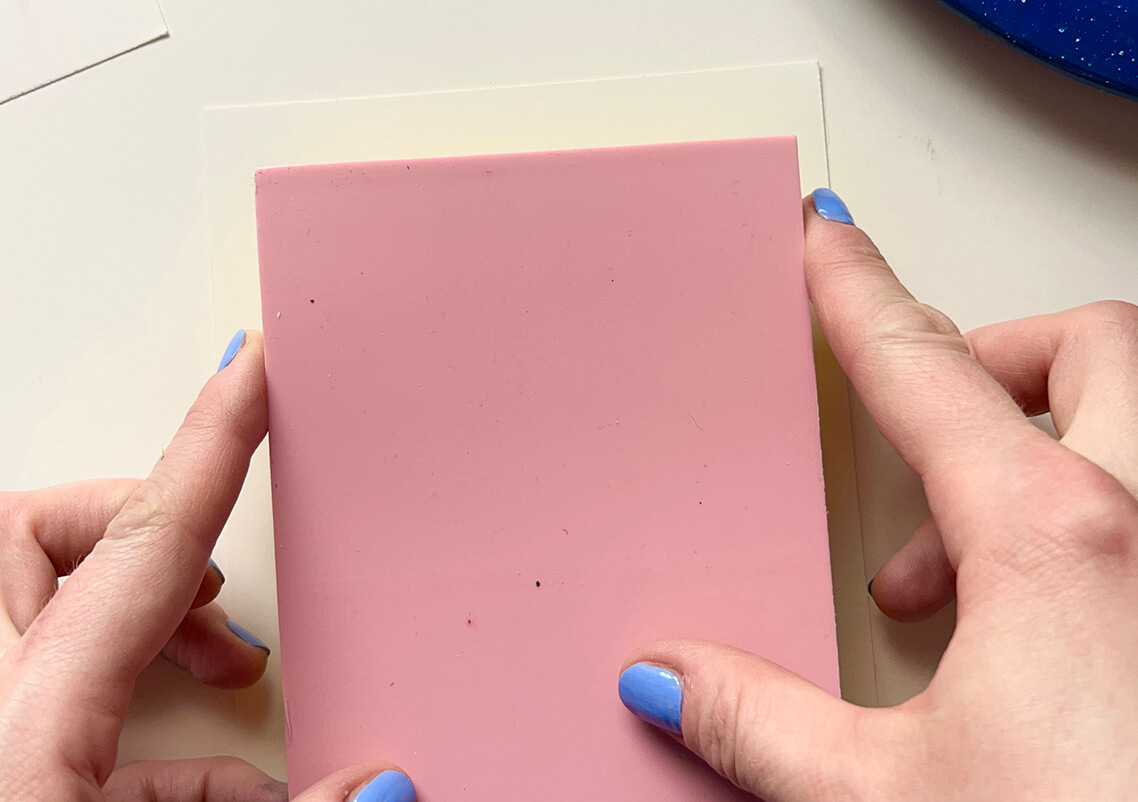
Step 3: Print your Base Color
Flip the whole thing over, peel away the paper, and your first layer is done! Repeat this step for the rest of your edition. Wash your block and brayer with soap and water, and dry thoroughly.
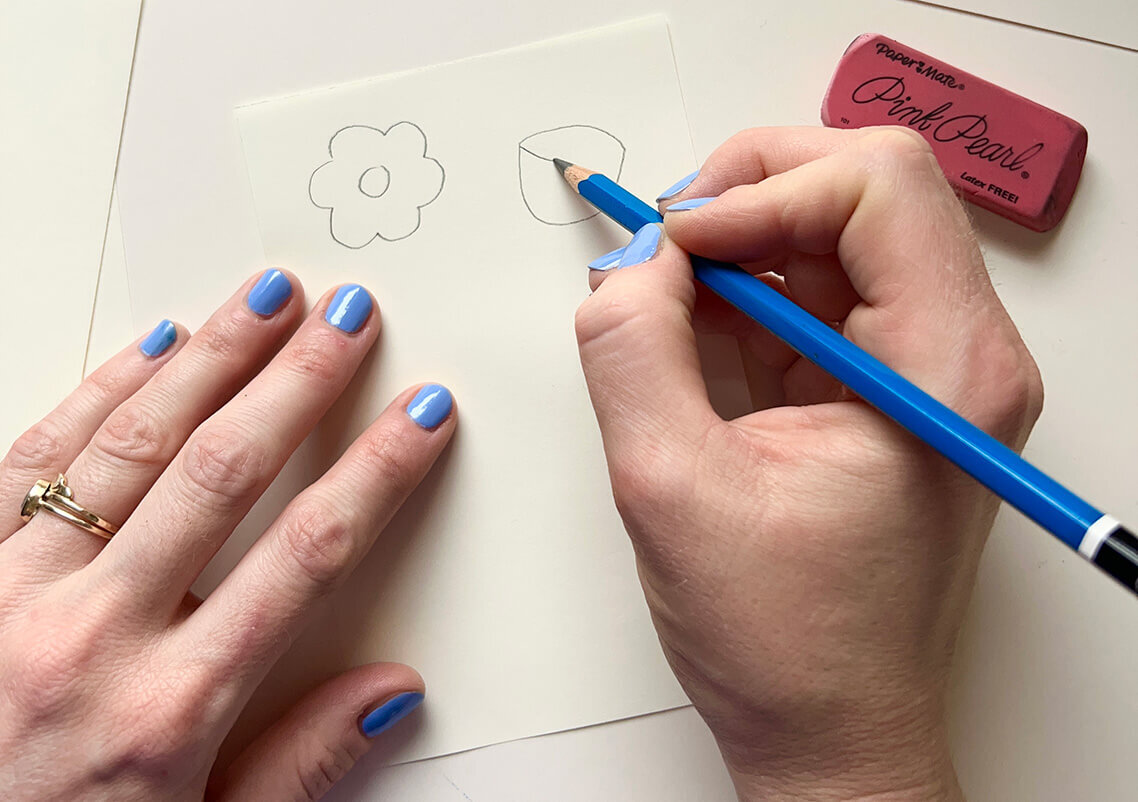
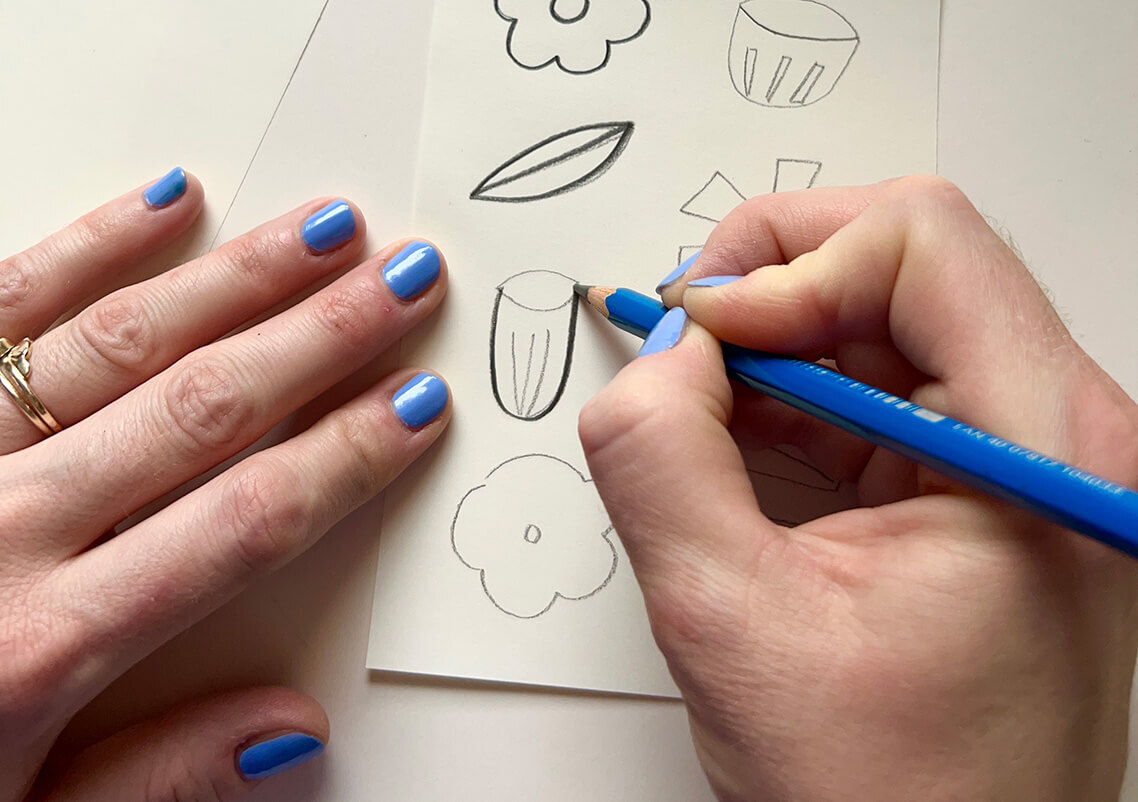
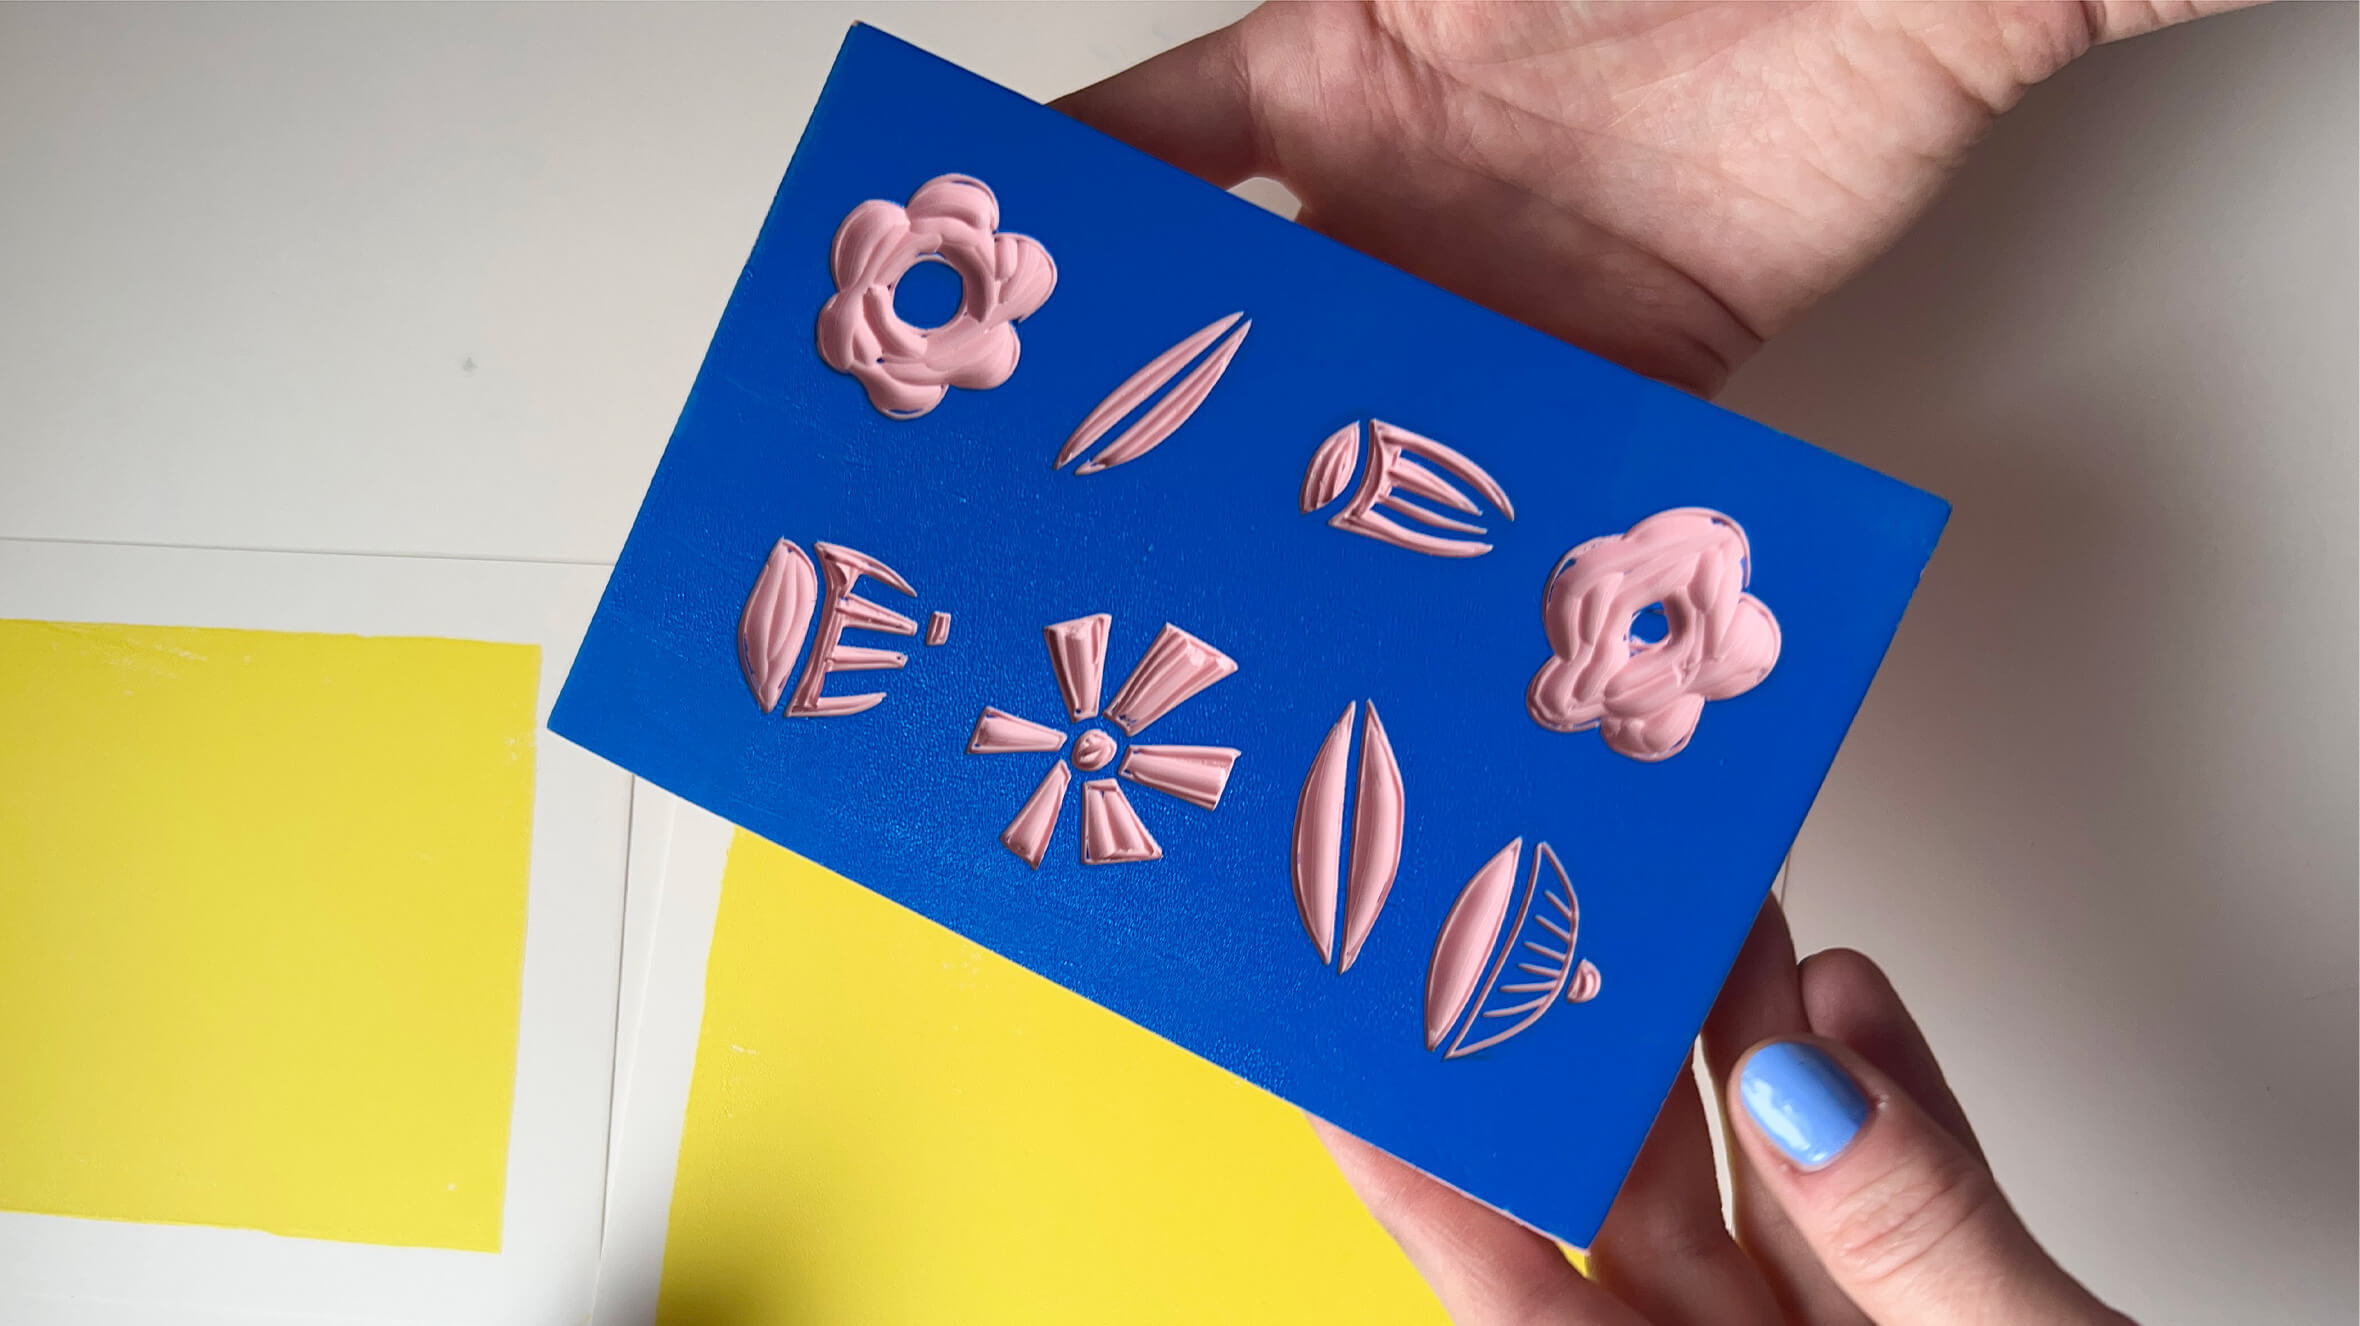
Step 4: Sketch
Now that the first color is printed, start sketching your design lightly on the 4"x6" printer paper. Decide if you’d like a horizontal or vertical orientation. Once you’re happy with the sketch, go over each line darkly with the soft lead pencil. The darker the sketch, the easier the image will transfer to the rubber. We’re creating a little set of floral illustrations to be printed on the yellow background.
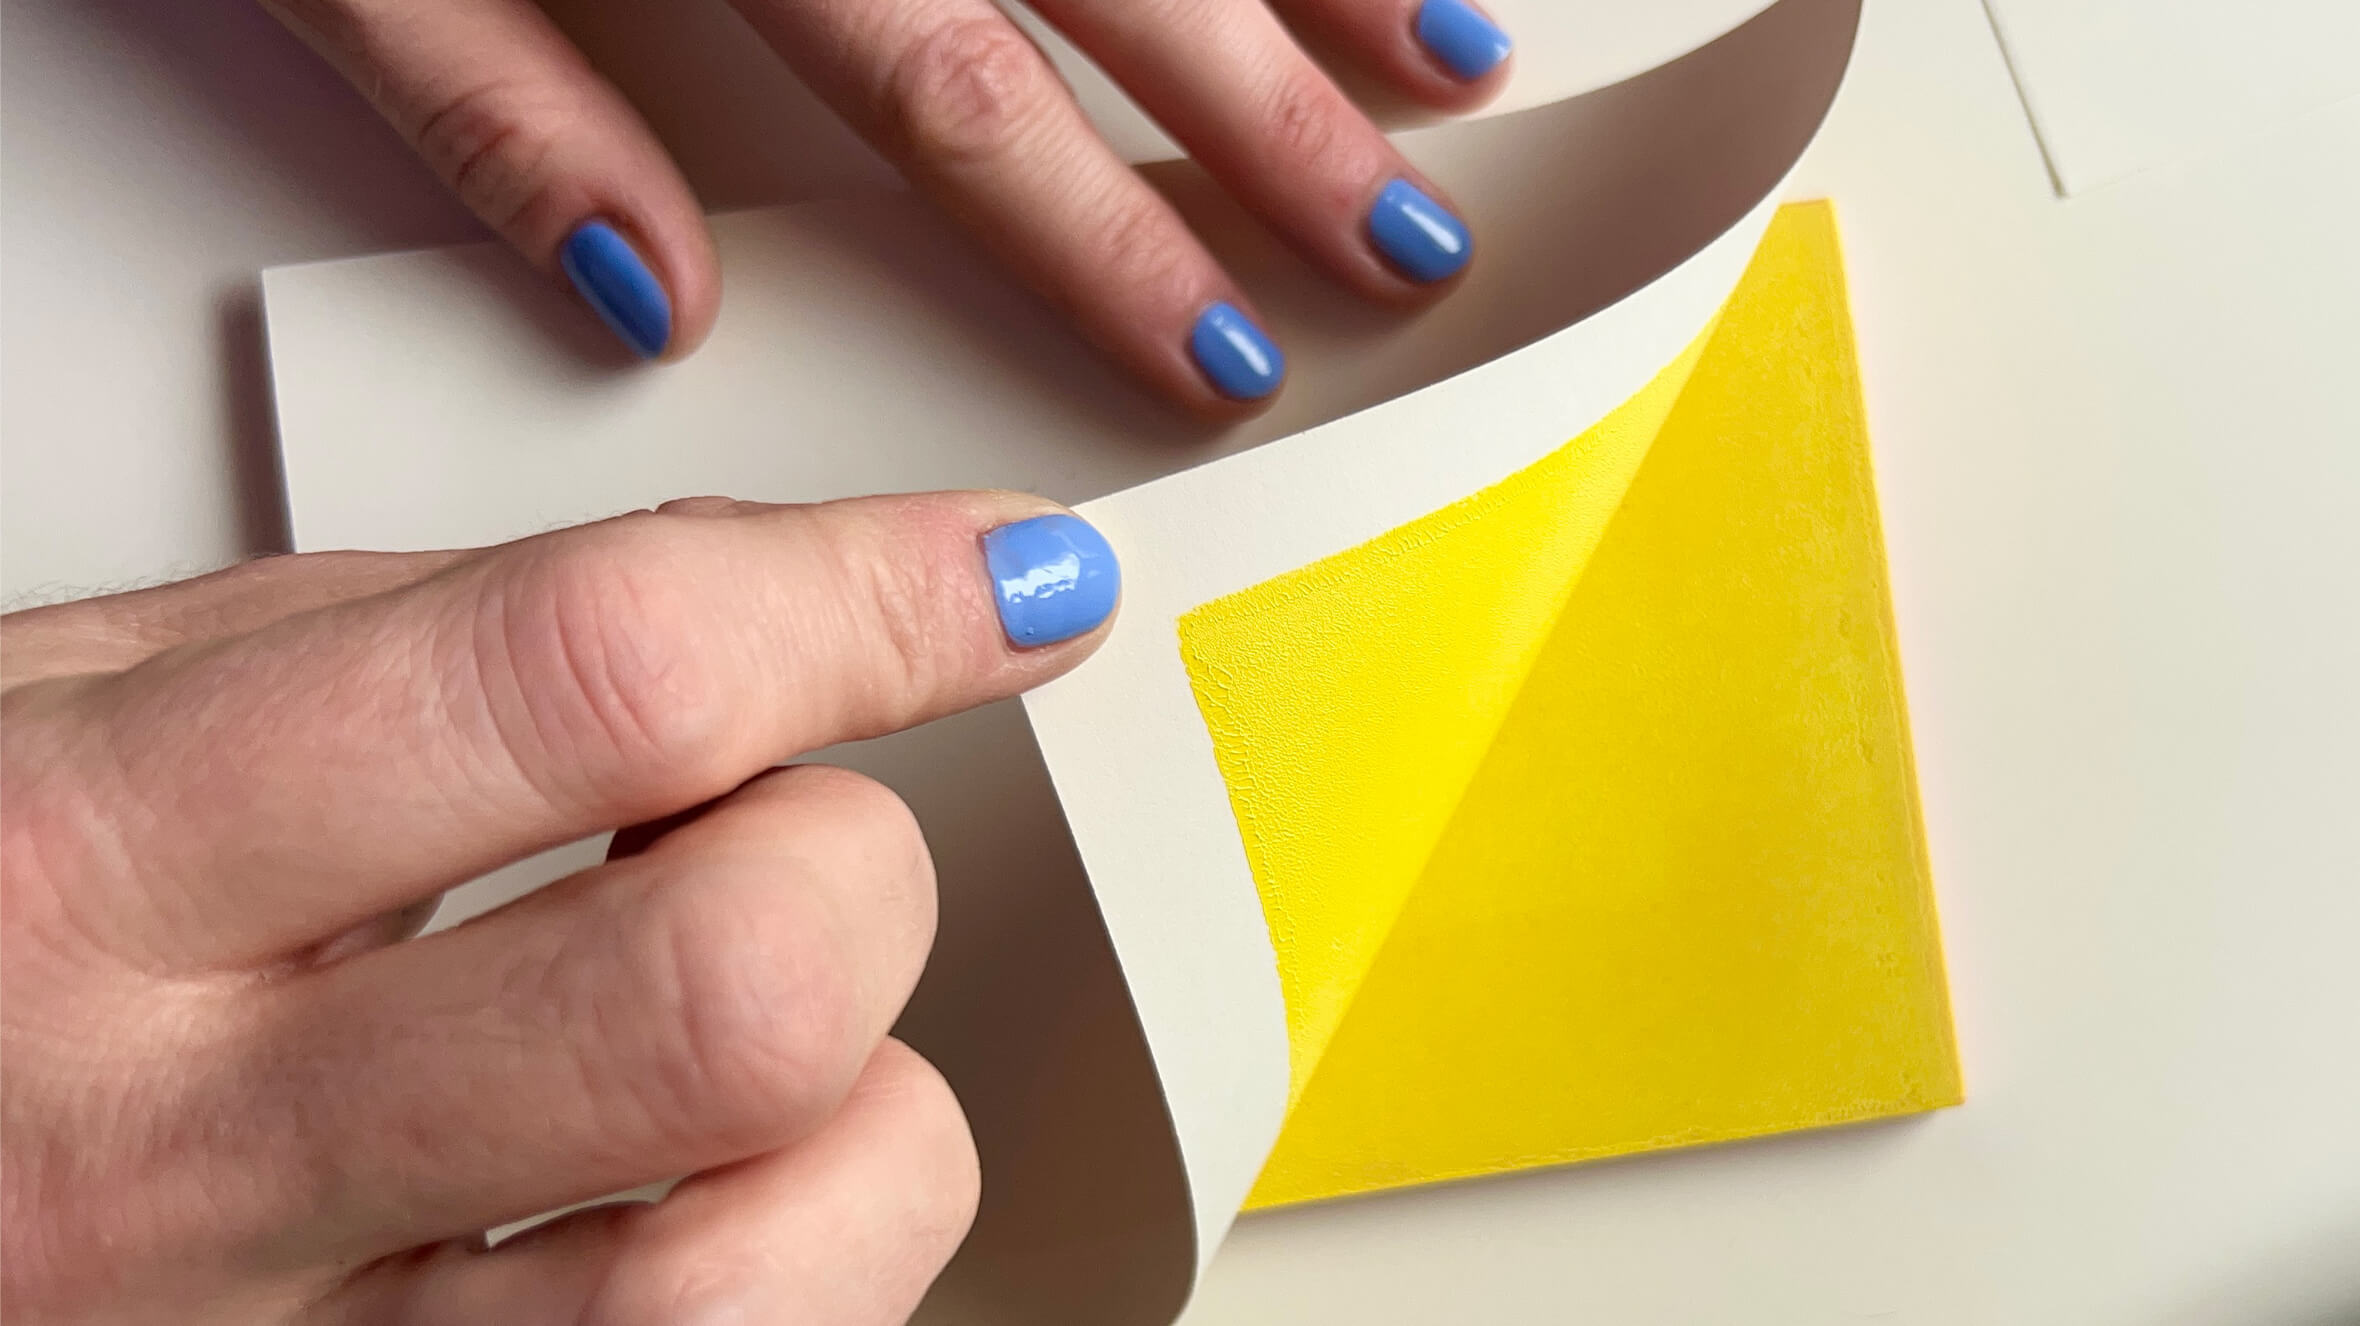
Step 4: Transfer
Flip your drawing over onto the rubber, lining the paper up so it doesn’t go off the edge. Carefully with your non-dominant hand, hold the paper in place, while gently rubbing the back of the paper with the handled end of the carving tool. Pull away the paper, and voilà! Your image should appear. Feel free to fill in any faded lines with the pencil directly.
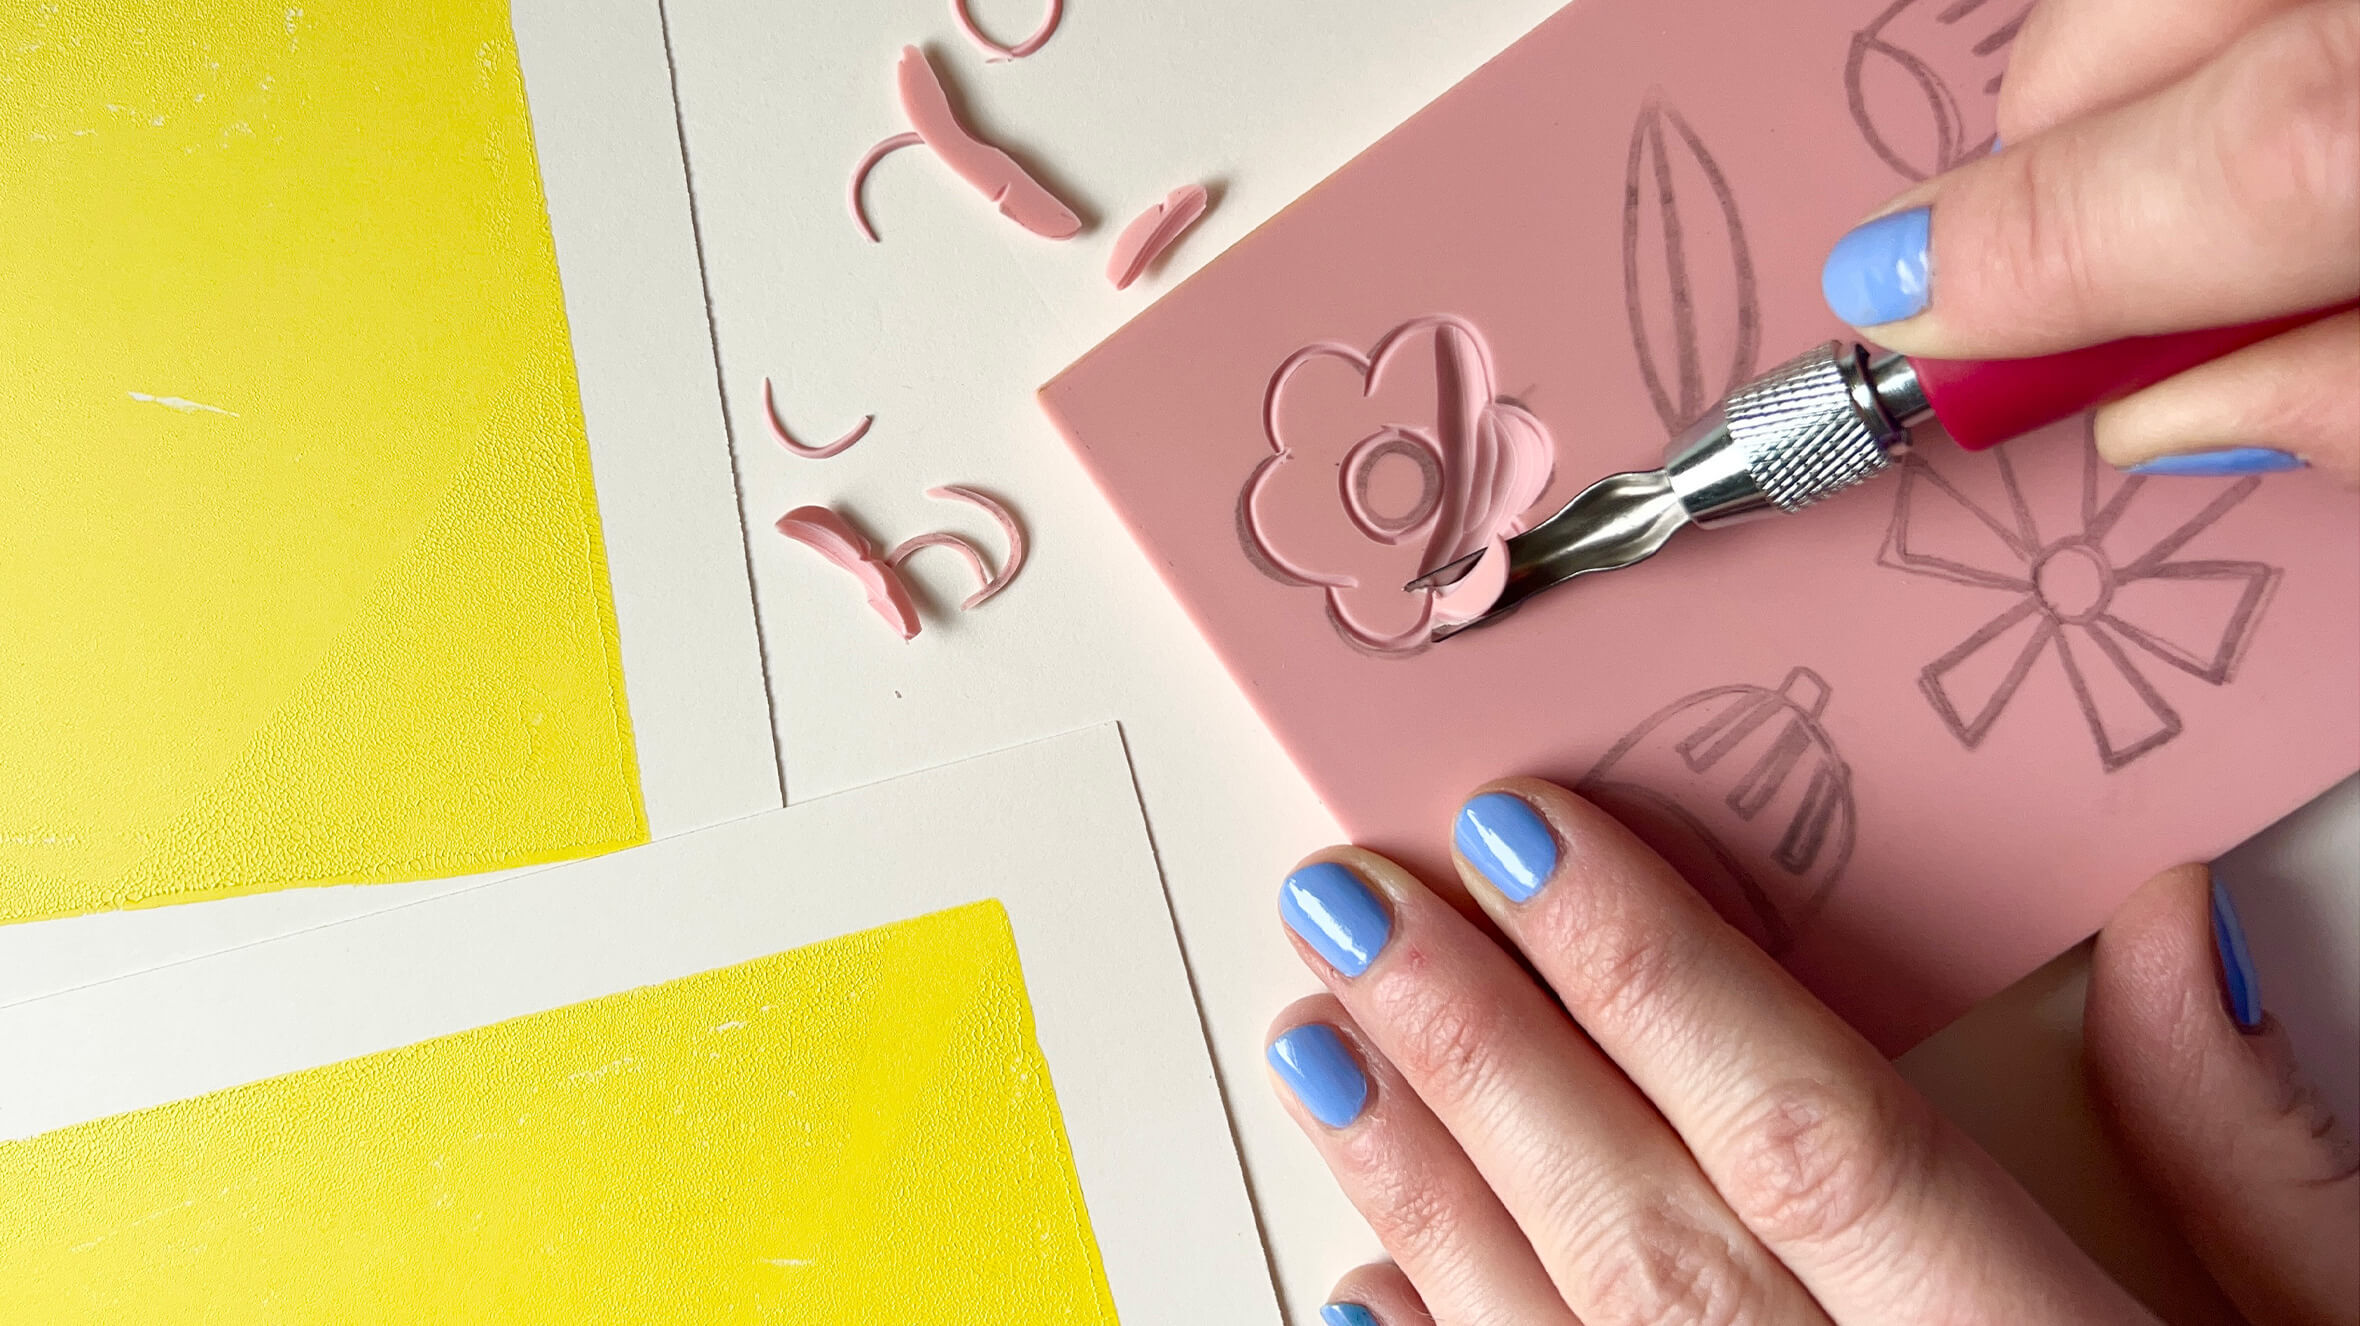
Step 5: Carve
Now we’re ready to carve. It’s important to keep your fingers out of the line of the tool; no injuries, please! Think about positive and negative space, and remember that your first layer of color will be visible in any of the “open” spaces of your print. In this case, any areas we carve away will remain yellow, while the rest of the block will get a layer of blue ink.
Carve first with the #1 (smallest) gouge, making an outline around your image. Skate your tool along the surface of the rubber; not quite parallel, but close. You want to avoid digging the tool in too deep. At the end of each cut, “scoop” upwards to end the cut. If you’re carving something circular or with curves, use your non-dominant hand to turn the block, while your dominant hand gently pushes the tool.
This allows you to have a sense of where to carve next. Any larger areas can be carved away with a larger gouge; in this case, we’re using the #5 (a U-shaped scooping gouge). Use any of the larger gouges to carve away more swaths of rubber, if needed. To switch gouges, gently loosen the silver “chuck” on your tool (without removing it entirely). Your gouge should easily slide out, and a new one can be put in. Then tighten the chuck, and you’re good to go.
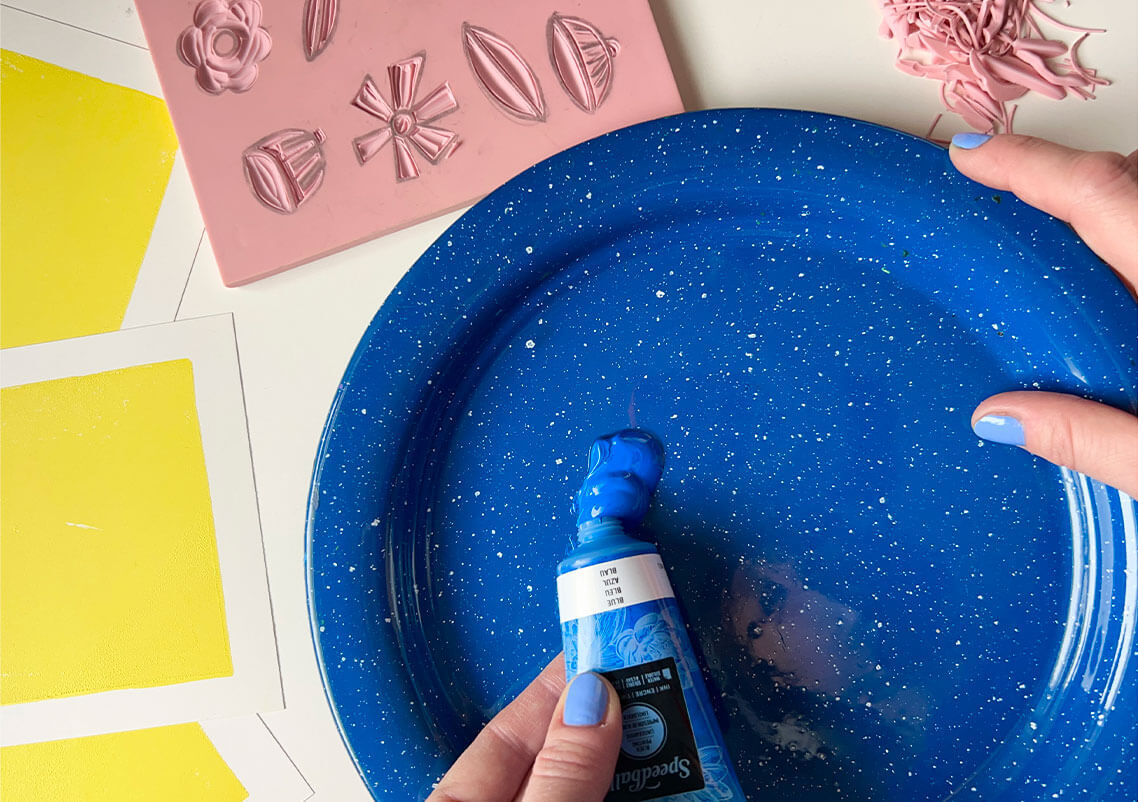
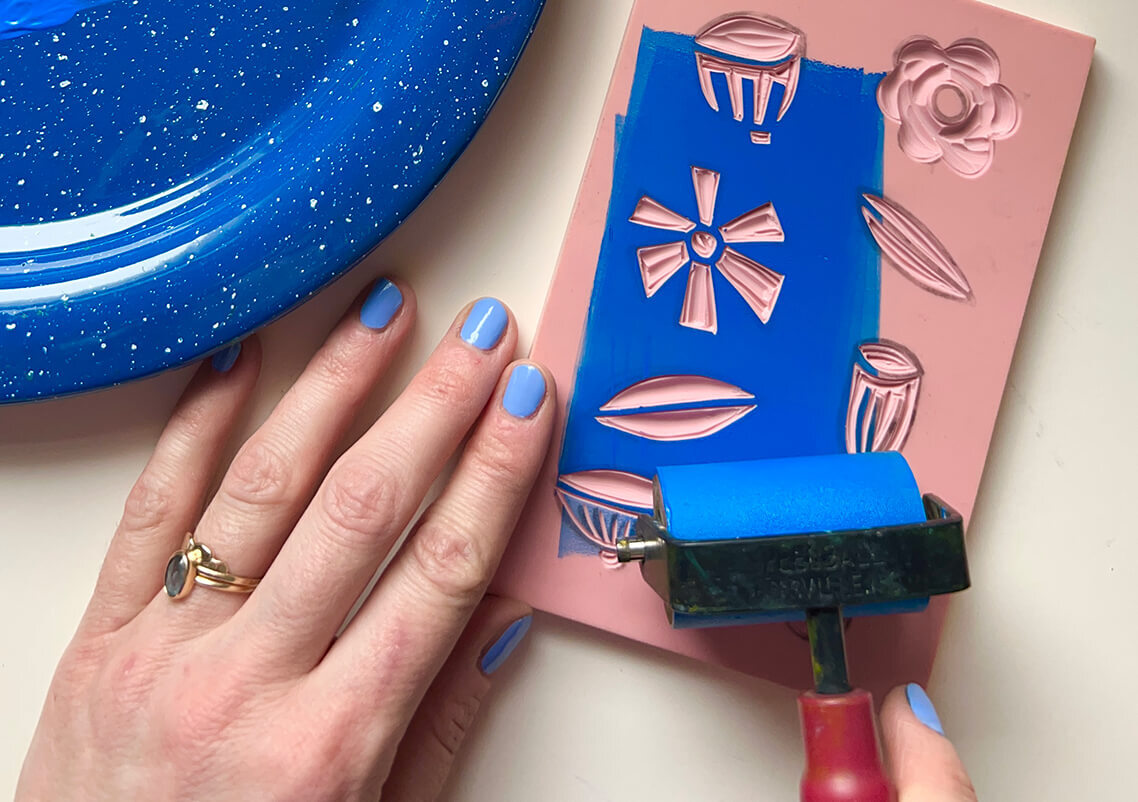
Step 6: Inking Top Color
Once finished carving, you’ll be ready to print your final color. Make sure all rubber bits are removed from your block before inking up again. Squeeze a small amount of your second ink color onto your inking surface, and use your (clean) brayer to roll it out. Cover the entire block in ink, and flip your block over to line it up with your first layer of color.
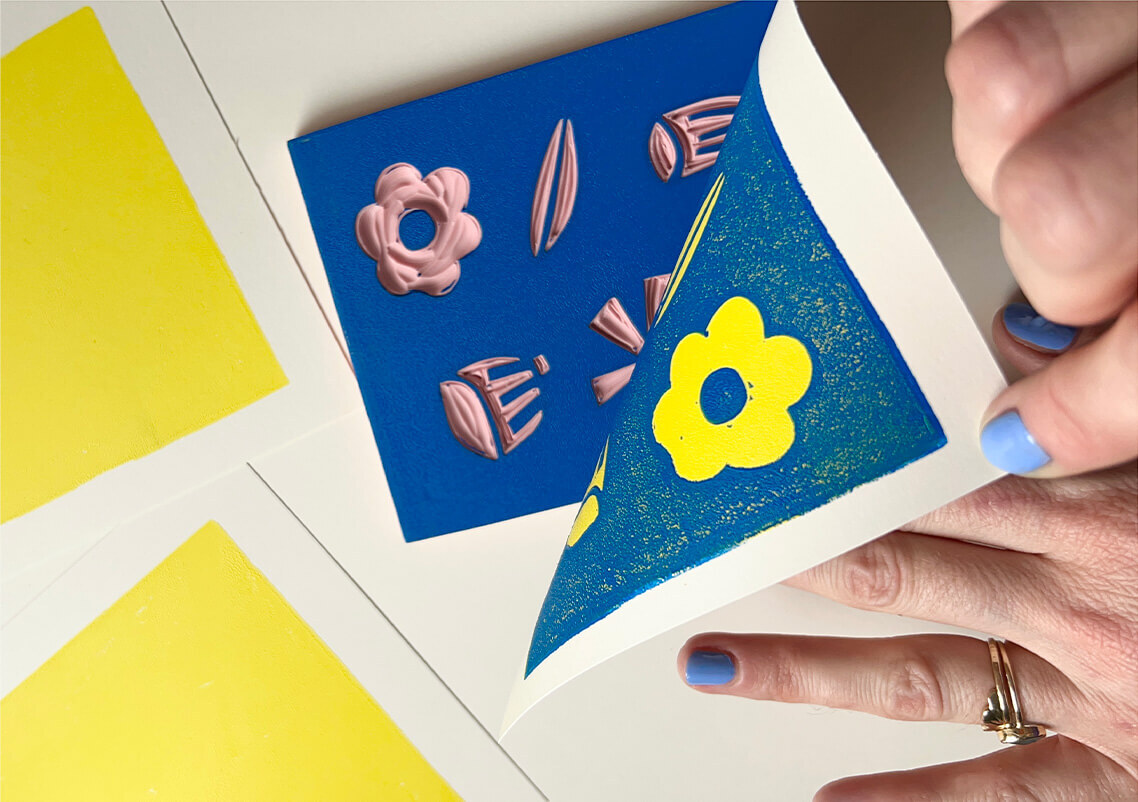
Step 7: Printing Top Color
Use even pressure with your hands (or your optional baren), making sure all areas of the block receive firm pressure. Flip the whole thing over, and peel away your paper. This is such a fun part: seeing how your two colors have layered.

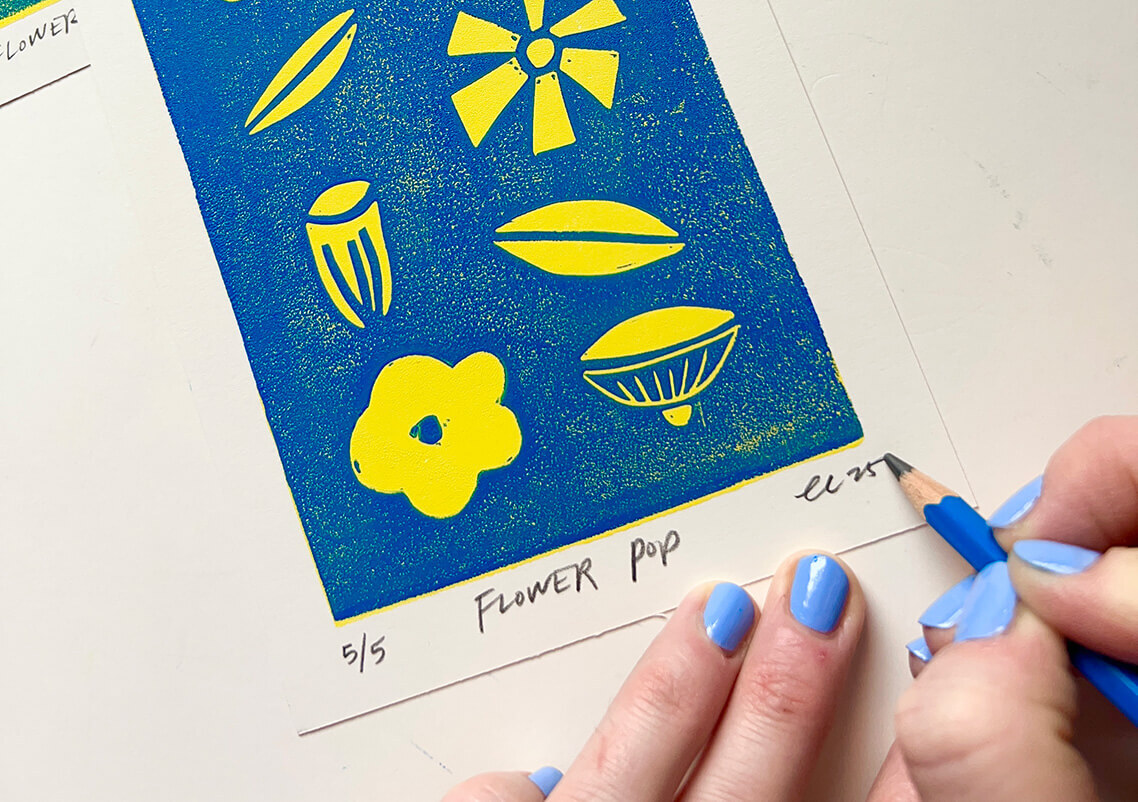
Step 8: Sign + Number
Let your prints dry, and then sign, date, and number them. Your prints are now ready to display or gift. You can build on this project by layering more than two colors. The possibilities are endless!