The goal of this project is to create a set of emoji stamps that will be printed on fabric. After the project is complete, these stamps can be used for future printing, such as adorning envelopes.
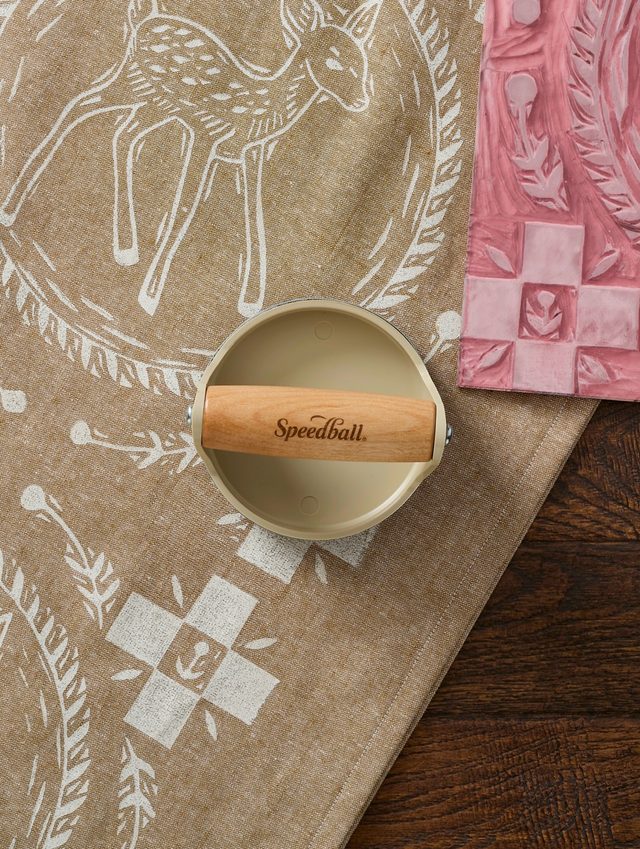
This project is fun and versatile, since it focuses on tiny stamps that can be combined in different ways. Choose a fabric item that you’d like to print on. Cotton and linen (natural fibers) work best! A t-shirt, bandana, tea towel, or fabric patch are all possibilities. We’ll be using a cotton bandana this time, which has been naturally dyed with avocado skins and seeds to create a soft peachy pink color.
Think about which “emojis” you’d like to create. You can use your phone for inspiration, or consider which objects from your daily life would work well in miniature. A tiny blueberry, a wee cup of tea, a small cat face. The possibilities are truly endless here.
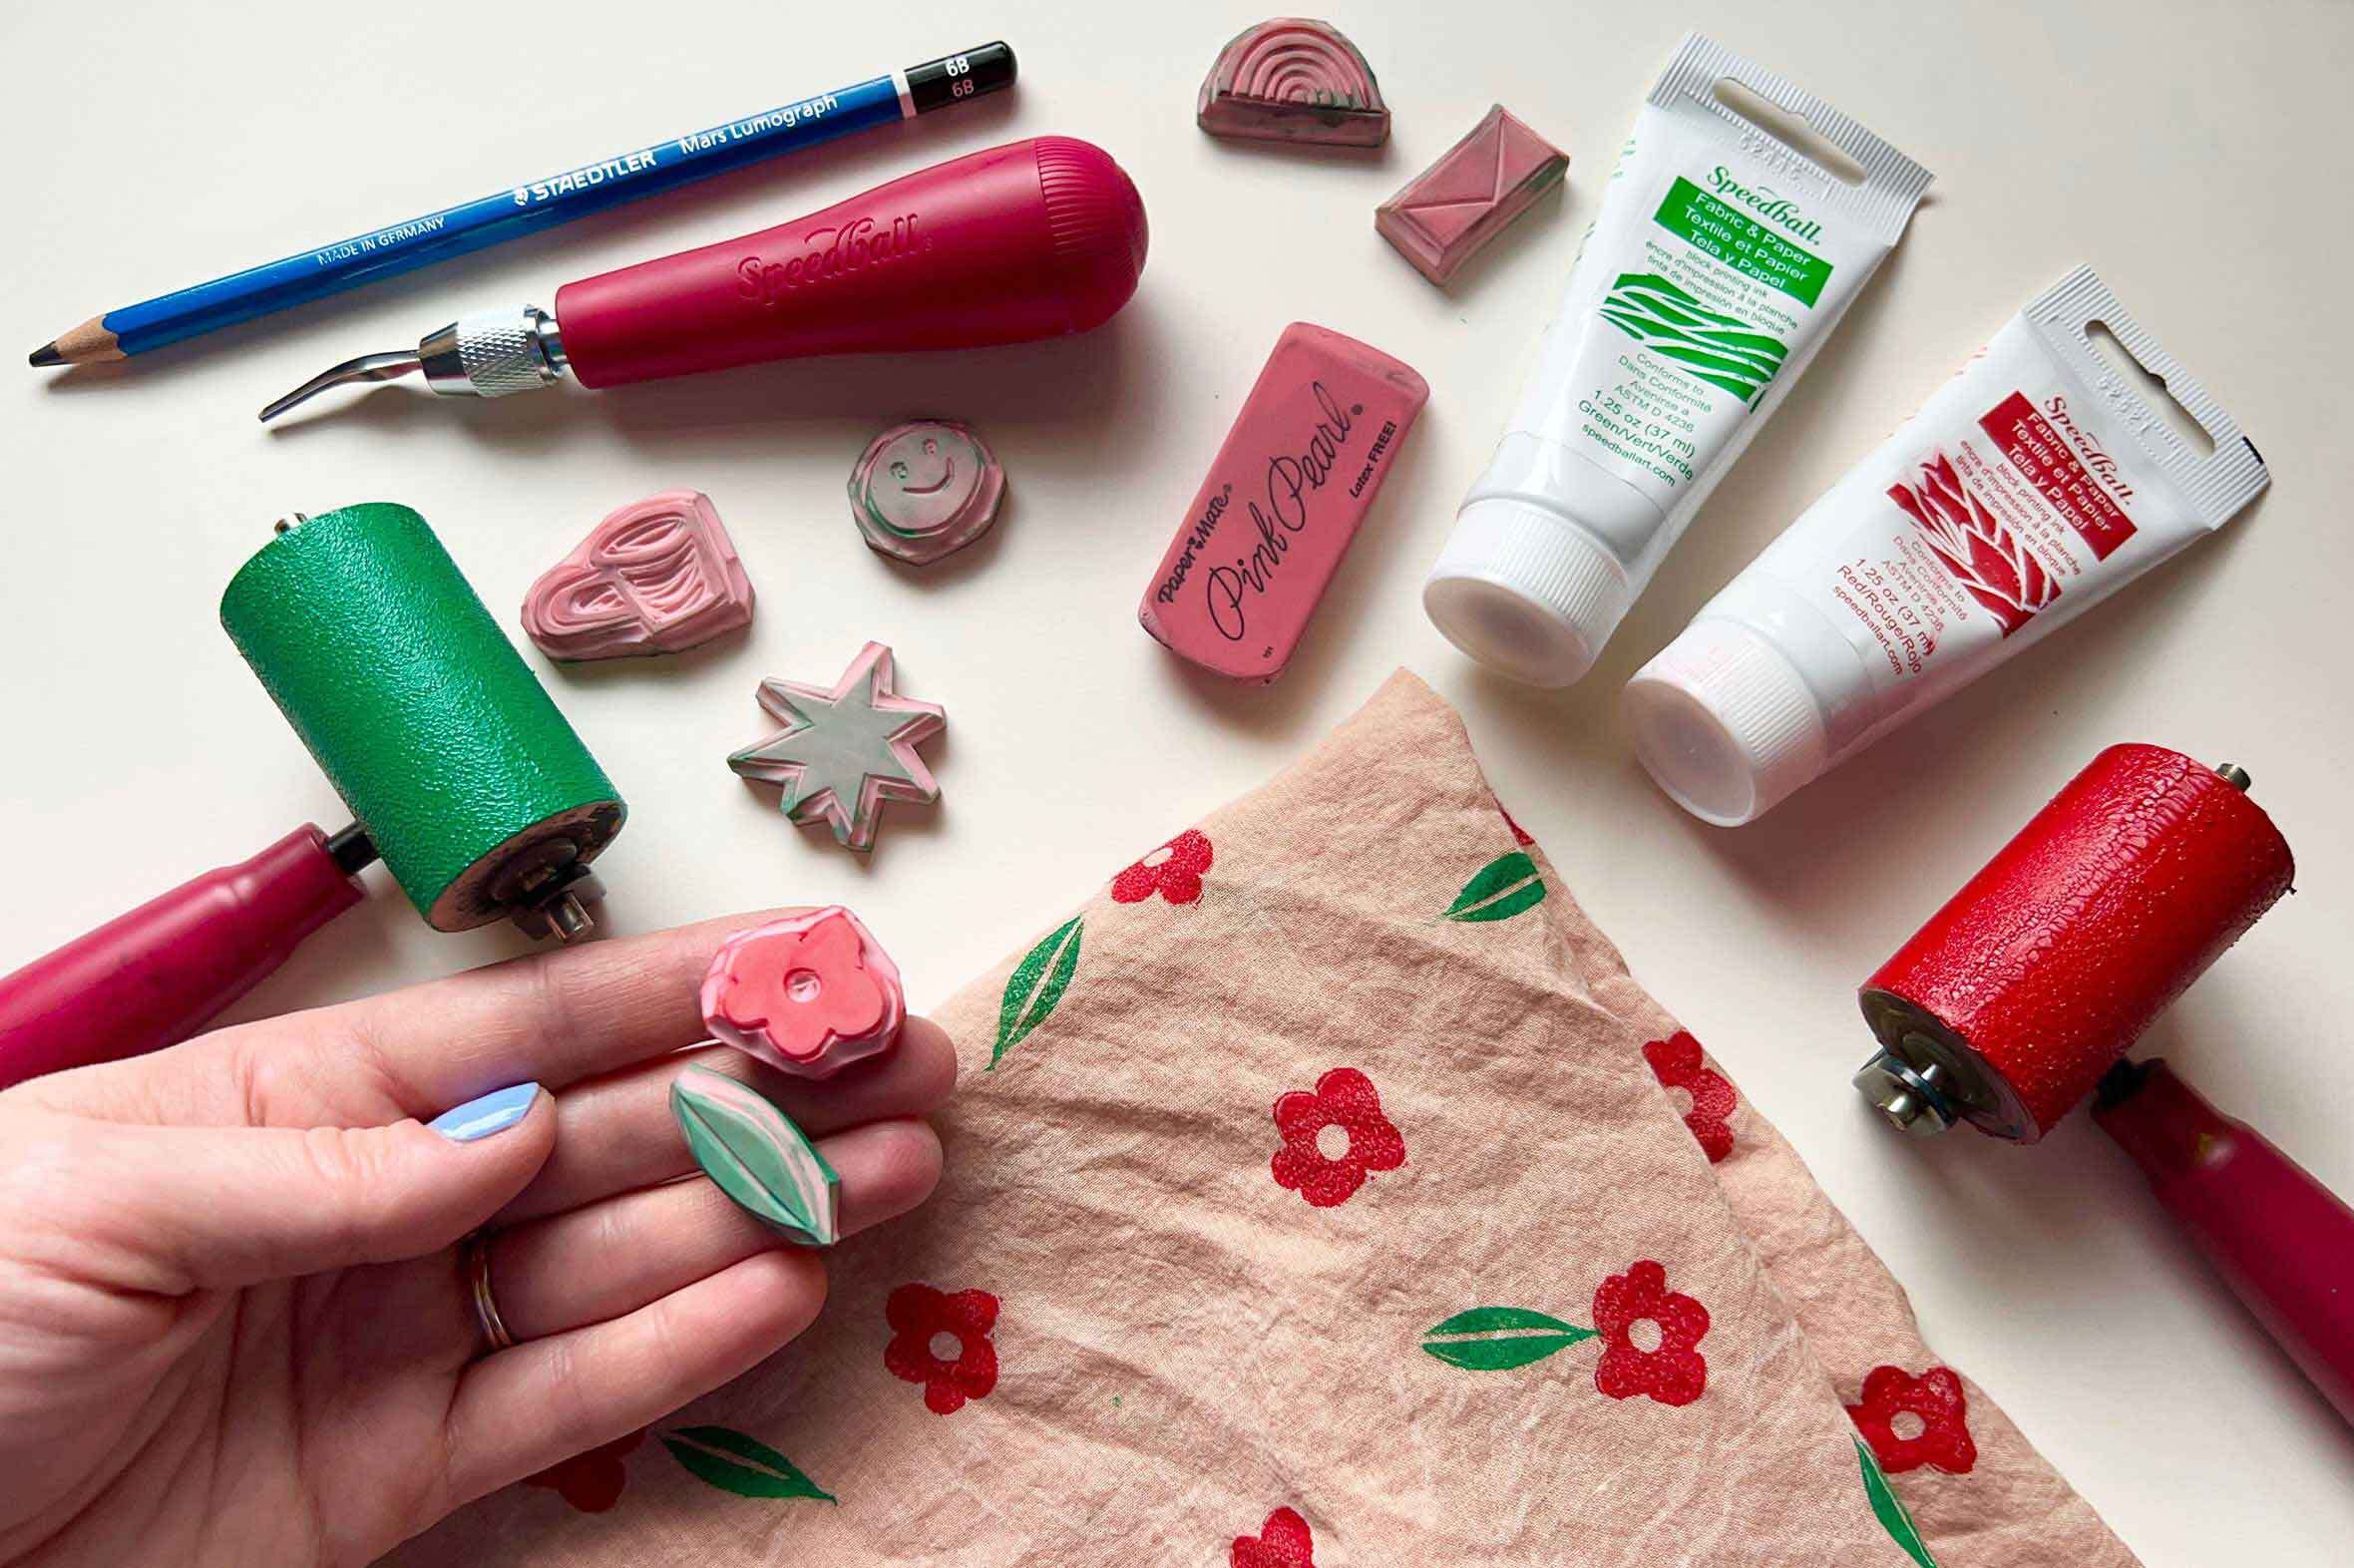
For this project, you will need:
- One 4"x6" block of pink Speedy Carve rubber
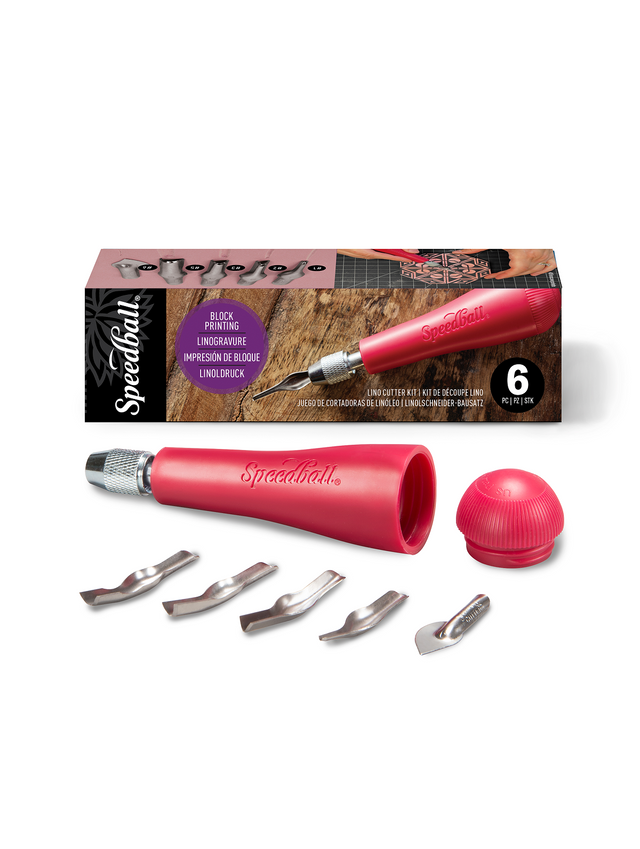
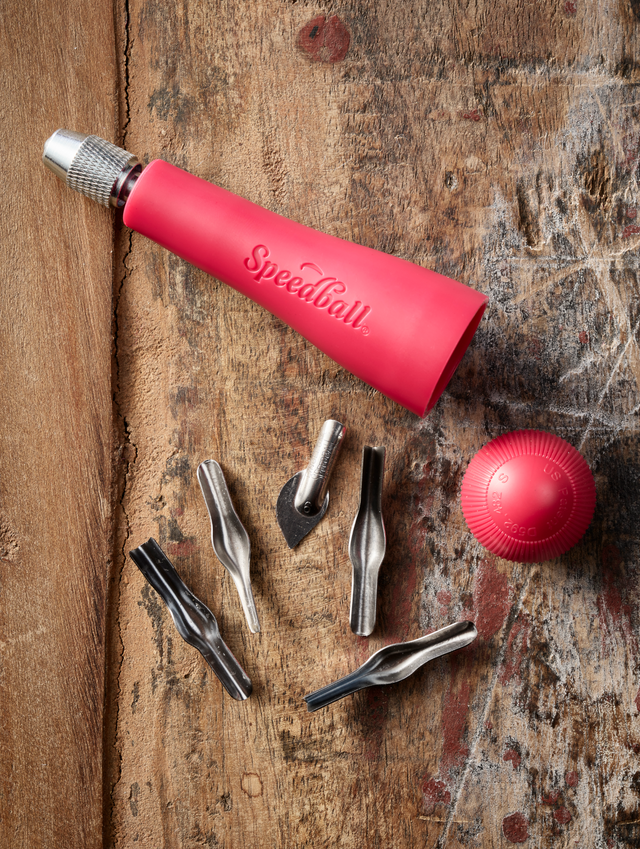
- One Speedball Linoleum Handle (set of 5 cutters)
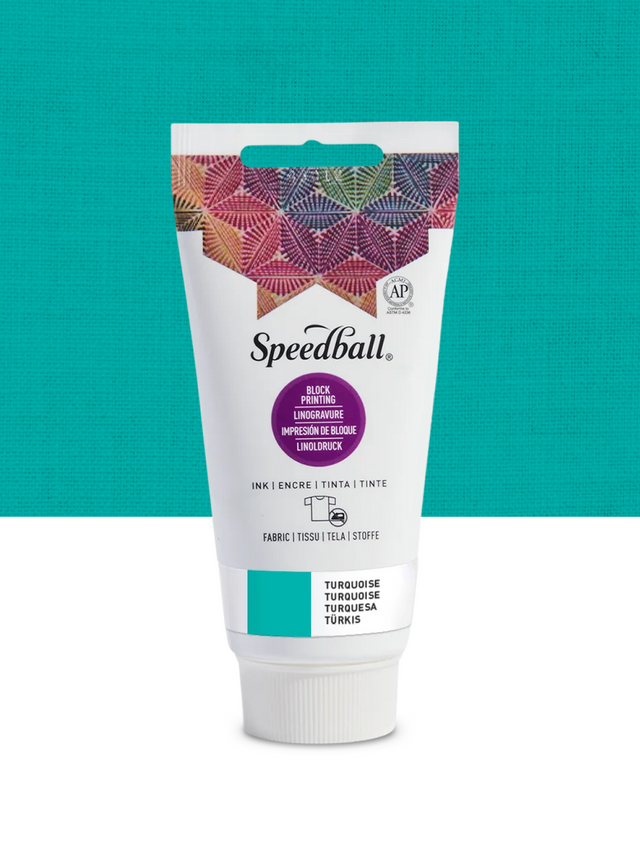
- One or more colors of Speedball Fabric Blockprinting Ink
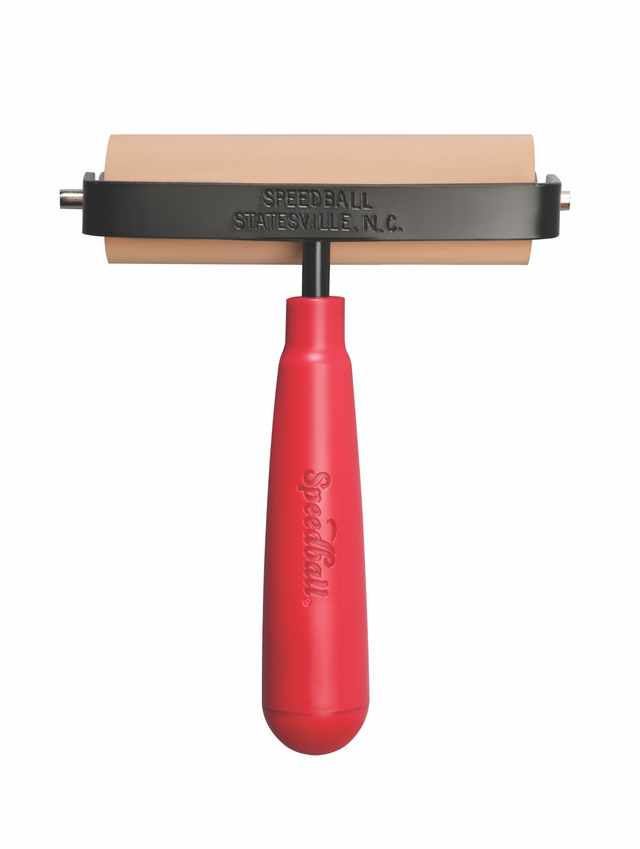
- One 2" Speedball Soft Rubber Brayer
- One soft lead pencil (6B, any brand)
- Several sheets of 4"x6" printer paper
- A piece of fabric, such as a bandana, t-shirt, or patch (natural fibers like cotton or linen work best)
- An eraser
- A pair of scissors
- A surface for rolling out ink (non-porous works best; an acrylic sheet, glass palette, or even a plate will work)
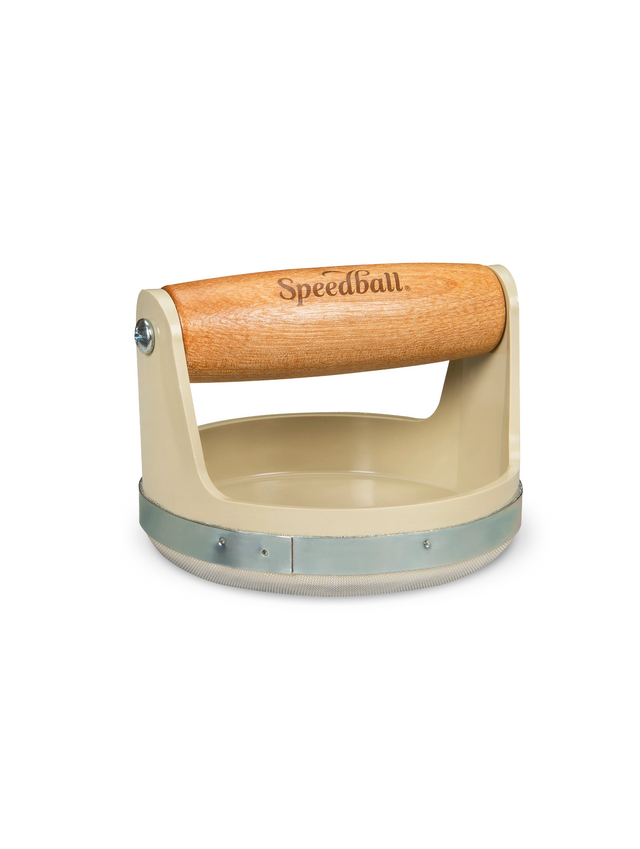
- Optional: A Speedball baren is useful but not required
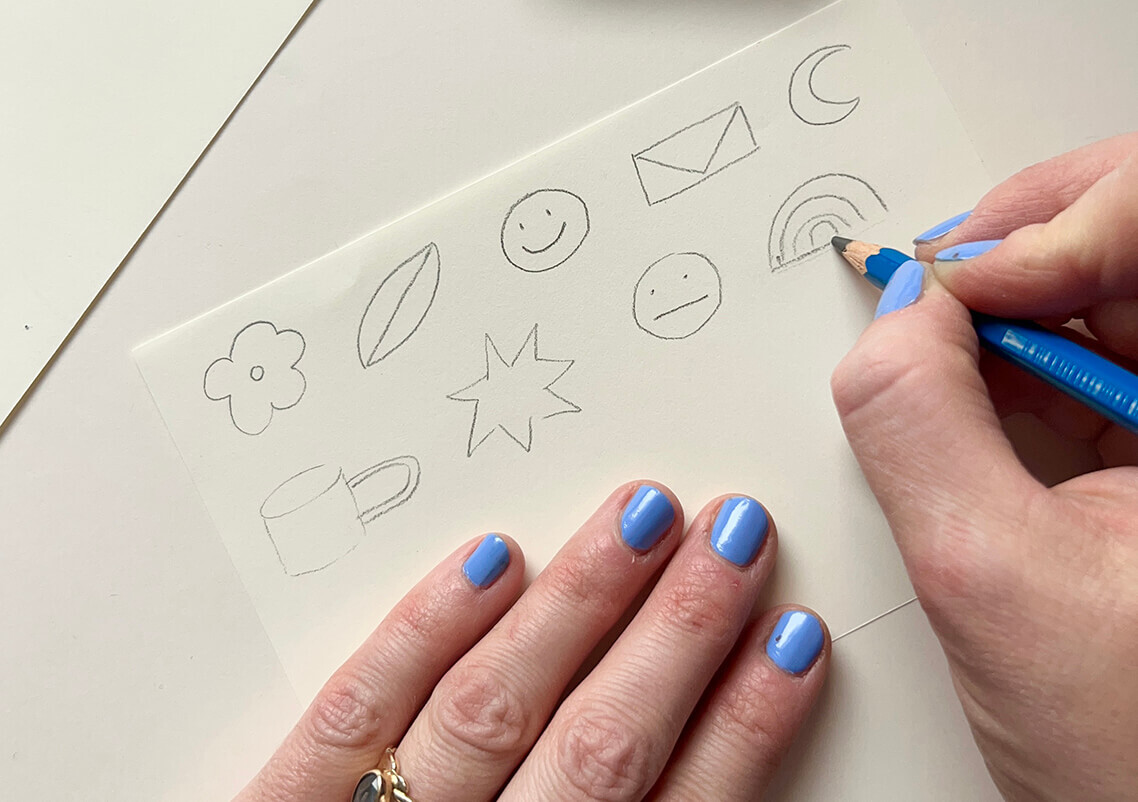
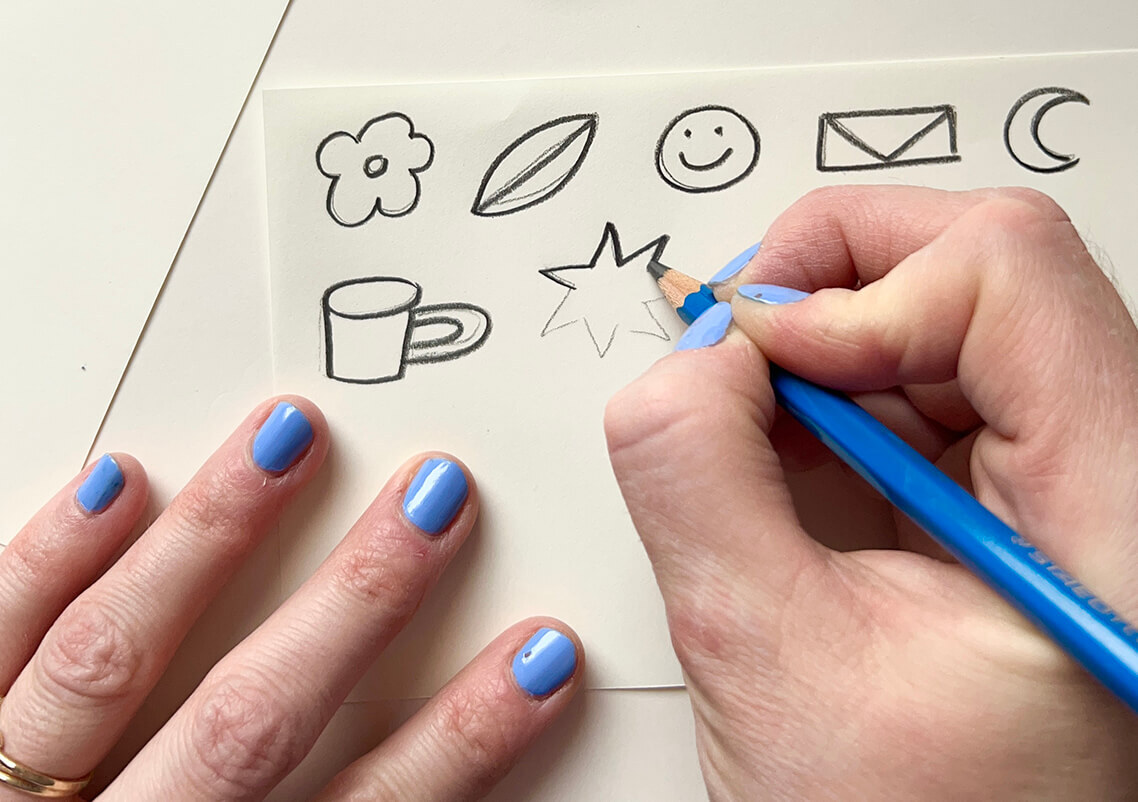
Step 1: Sketch
Use your 4"x6" sheet of paper to start sketching ideas. Keep a little space between each drawing, so that they will be easy to separate and carve later on. The paper may seem small, but you can fit many tiny doodles. If you’re feeling overwhelmed by this task, keep your drawings simple: a crescent moon, a heart, or a smiley face. Start sketching lightly with your soft lead pencil, and once you’re happy with your drawings, go over each line again, pushing down with your pencil to achieve a dark outline. The darker the drawings now, the easier the next steps will be.
Step 2: Transfer
Transfer time! Flip your paper over onto your rubber, making sure to line up the edges. Using the handle end of your carving tool, gently rub the paper, while holding the paper steady with your other hand. Pull the paper off, and your drawings will be revealed on the rubber. Go over any light areas with the pencil.
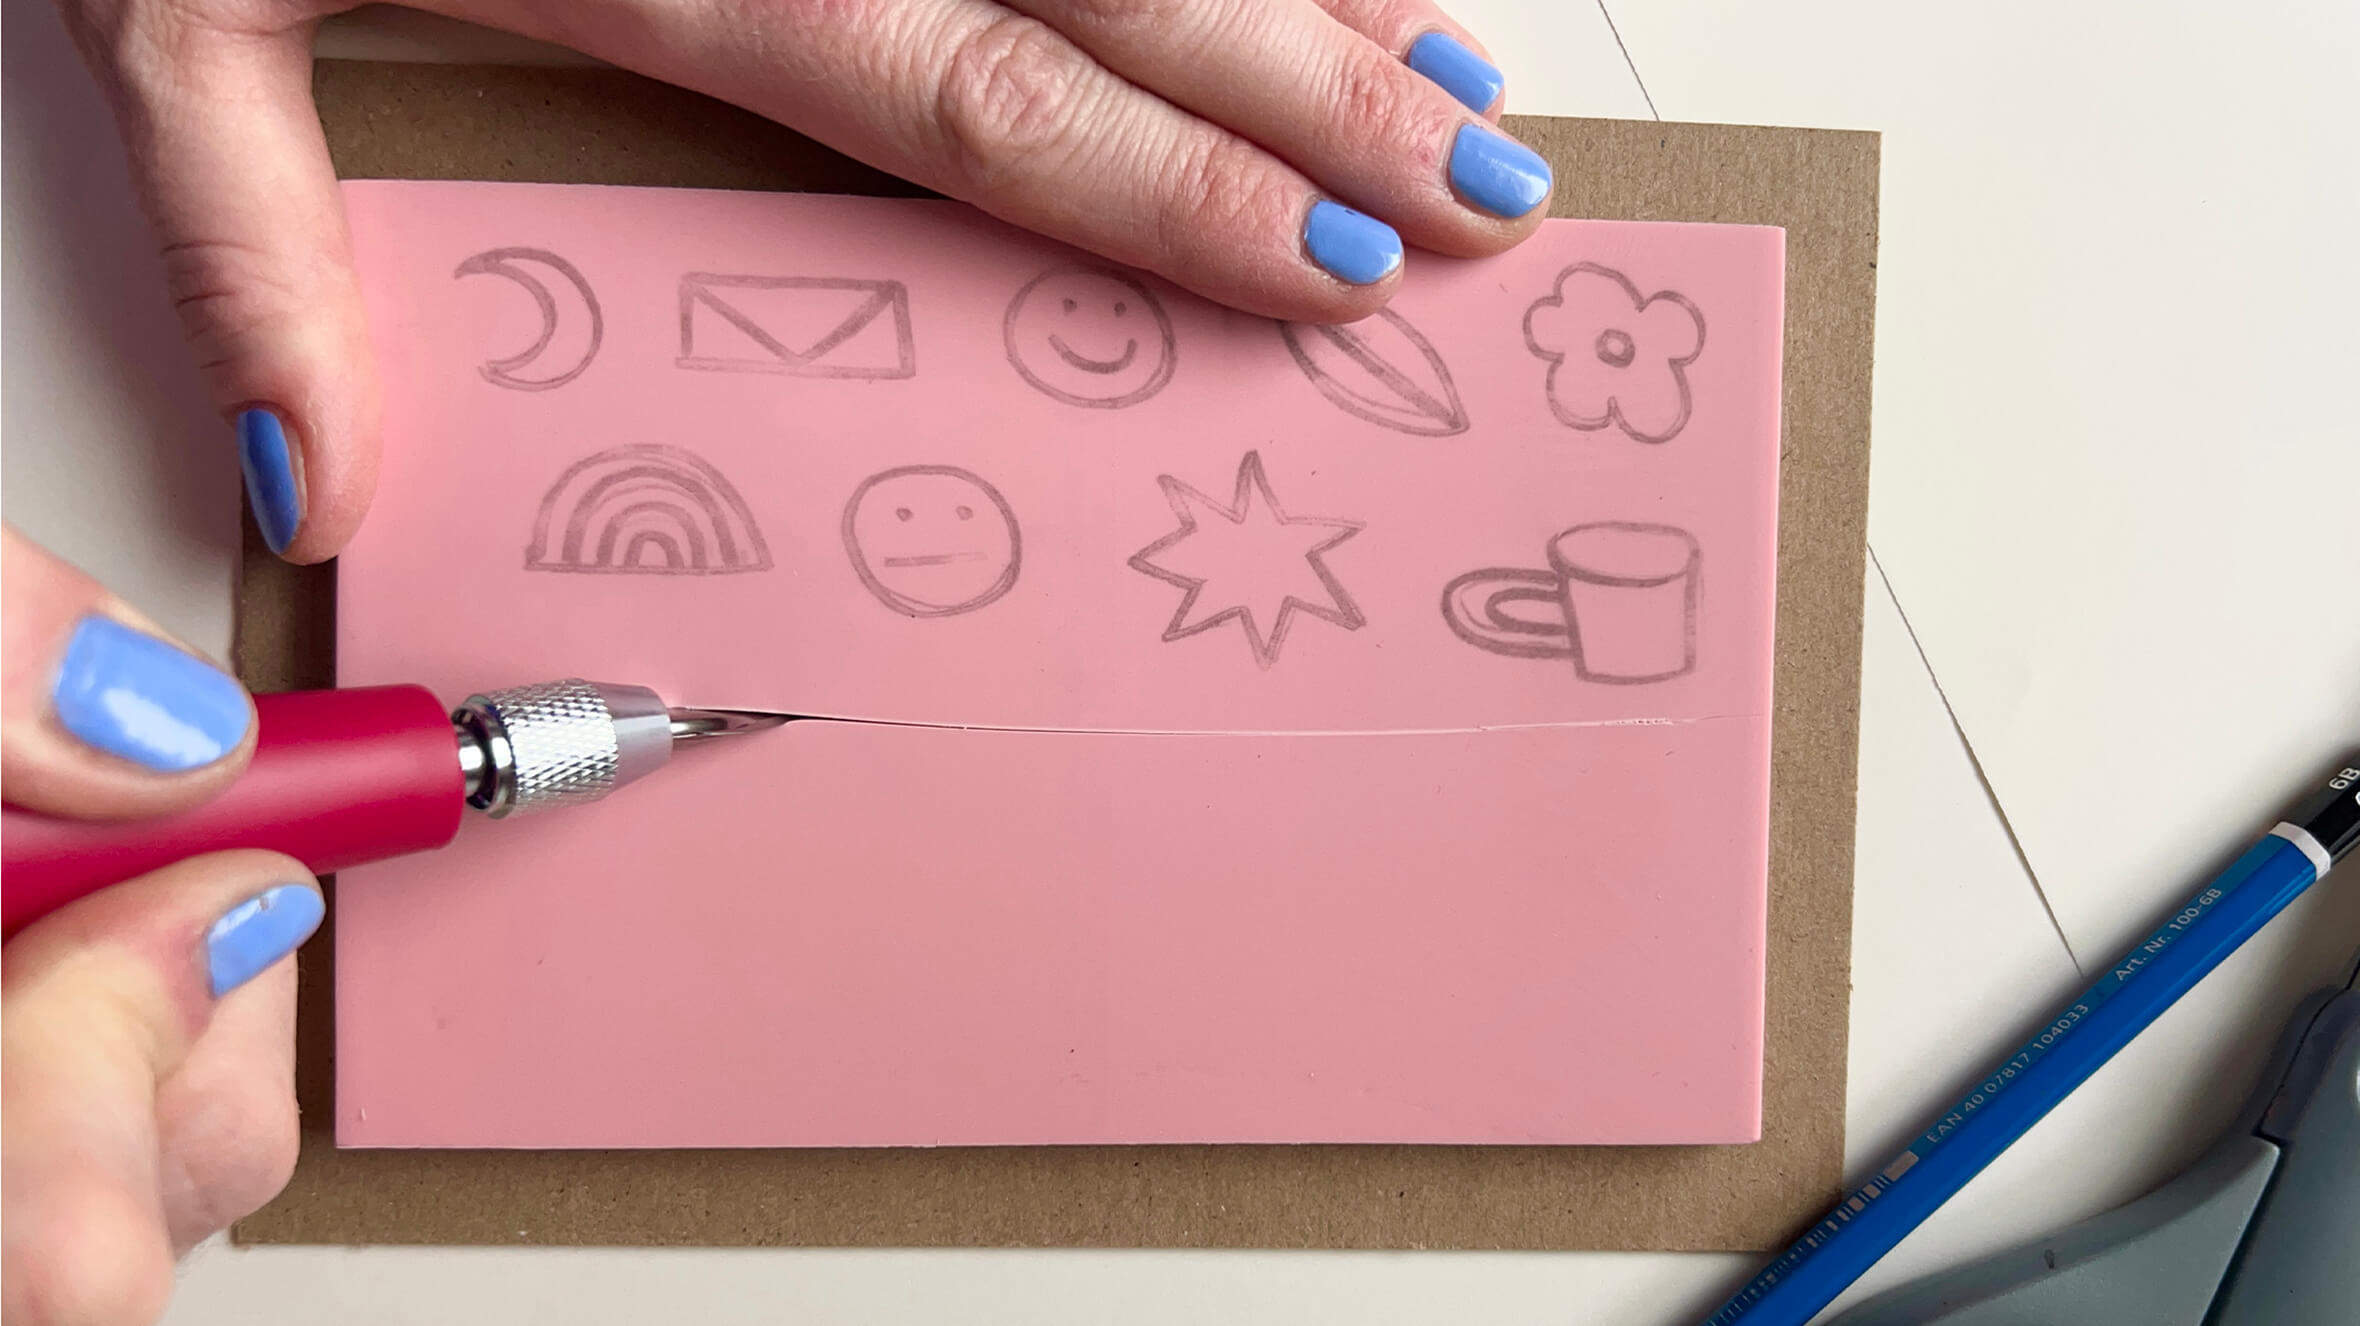
Step 3: Trim
Now it’s time to carve. If there is any excess rubber you’d like to save, you can carve that piece away now, either using scissors or the #6 gouge in your set.
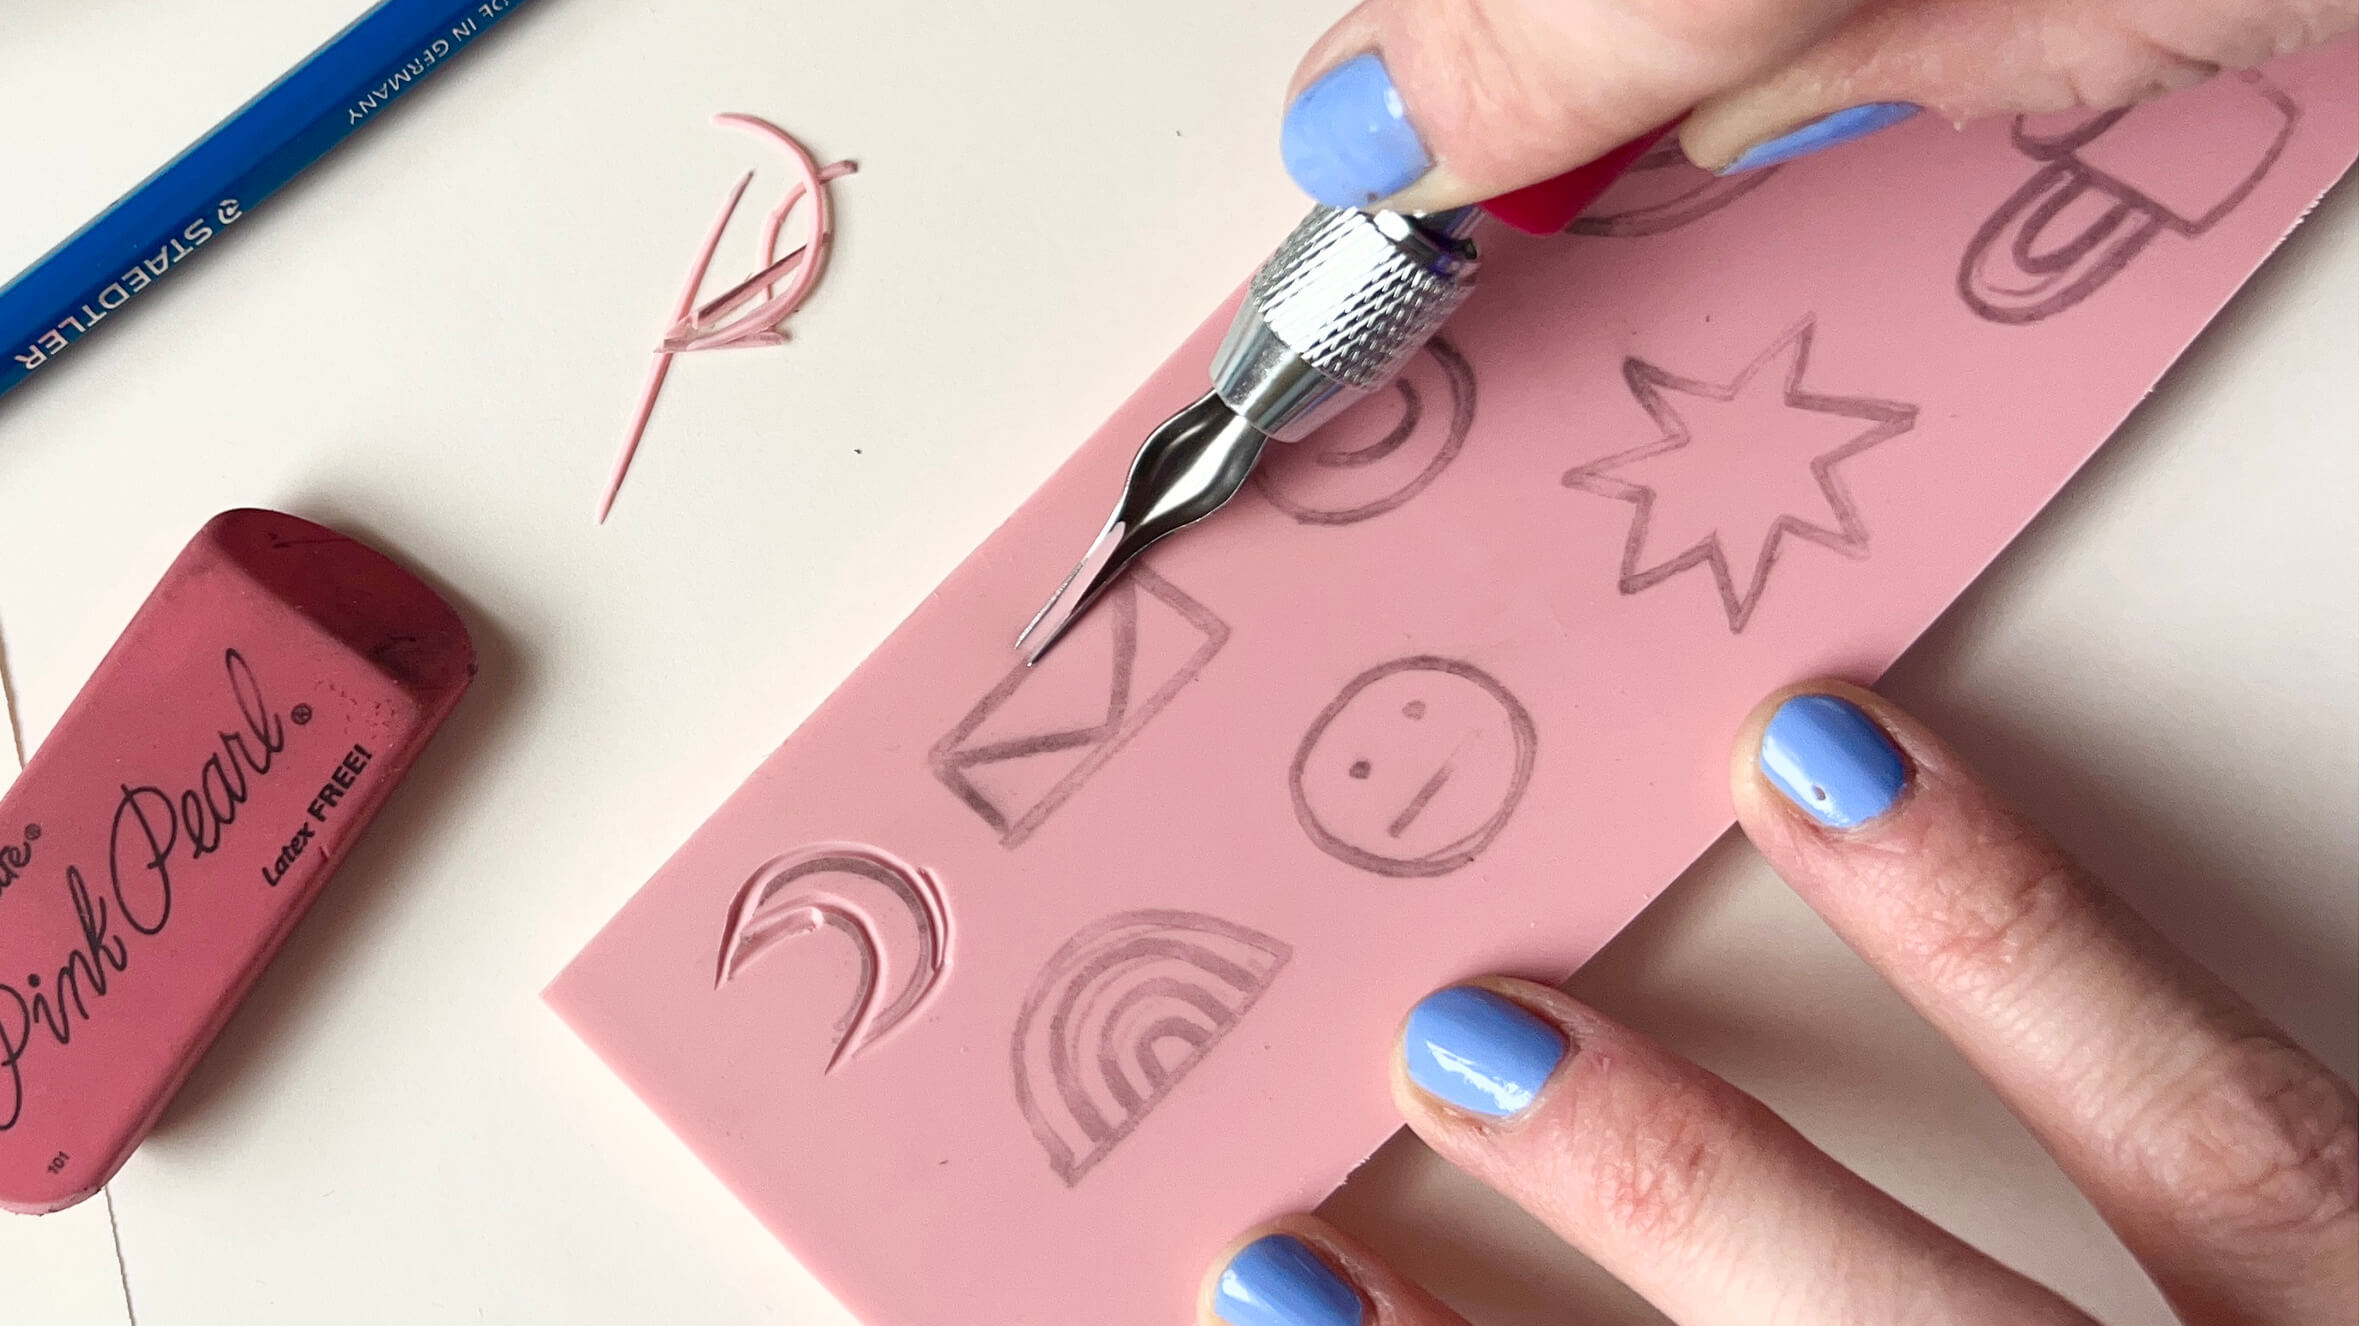
Step 4: Carve Outlines
Using the #1 gouge (the smallest), carefully carve an outline around each image. Outlining now will help you remember which areas to carve away (or not) next. Carve away from your fingers, and skate your tool along the surface of the rubber; not quite parallel, but close. You want to avoid digging the tool in too deep. At the end of each cut, “scoop” upwards to end the cut. If you’re carving something circular or with curves, use your non-dominant hand to turn the block, while your dominant hand gently pushes the tool.
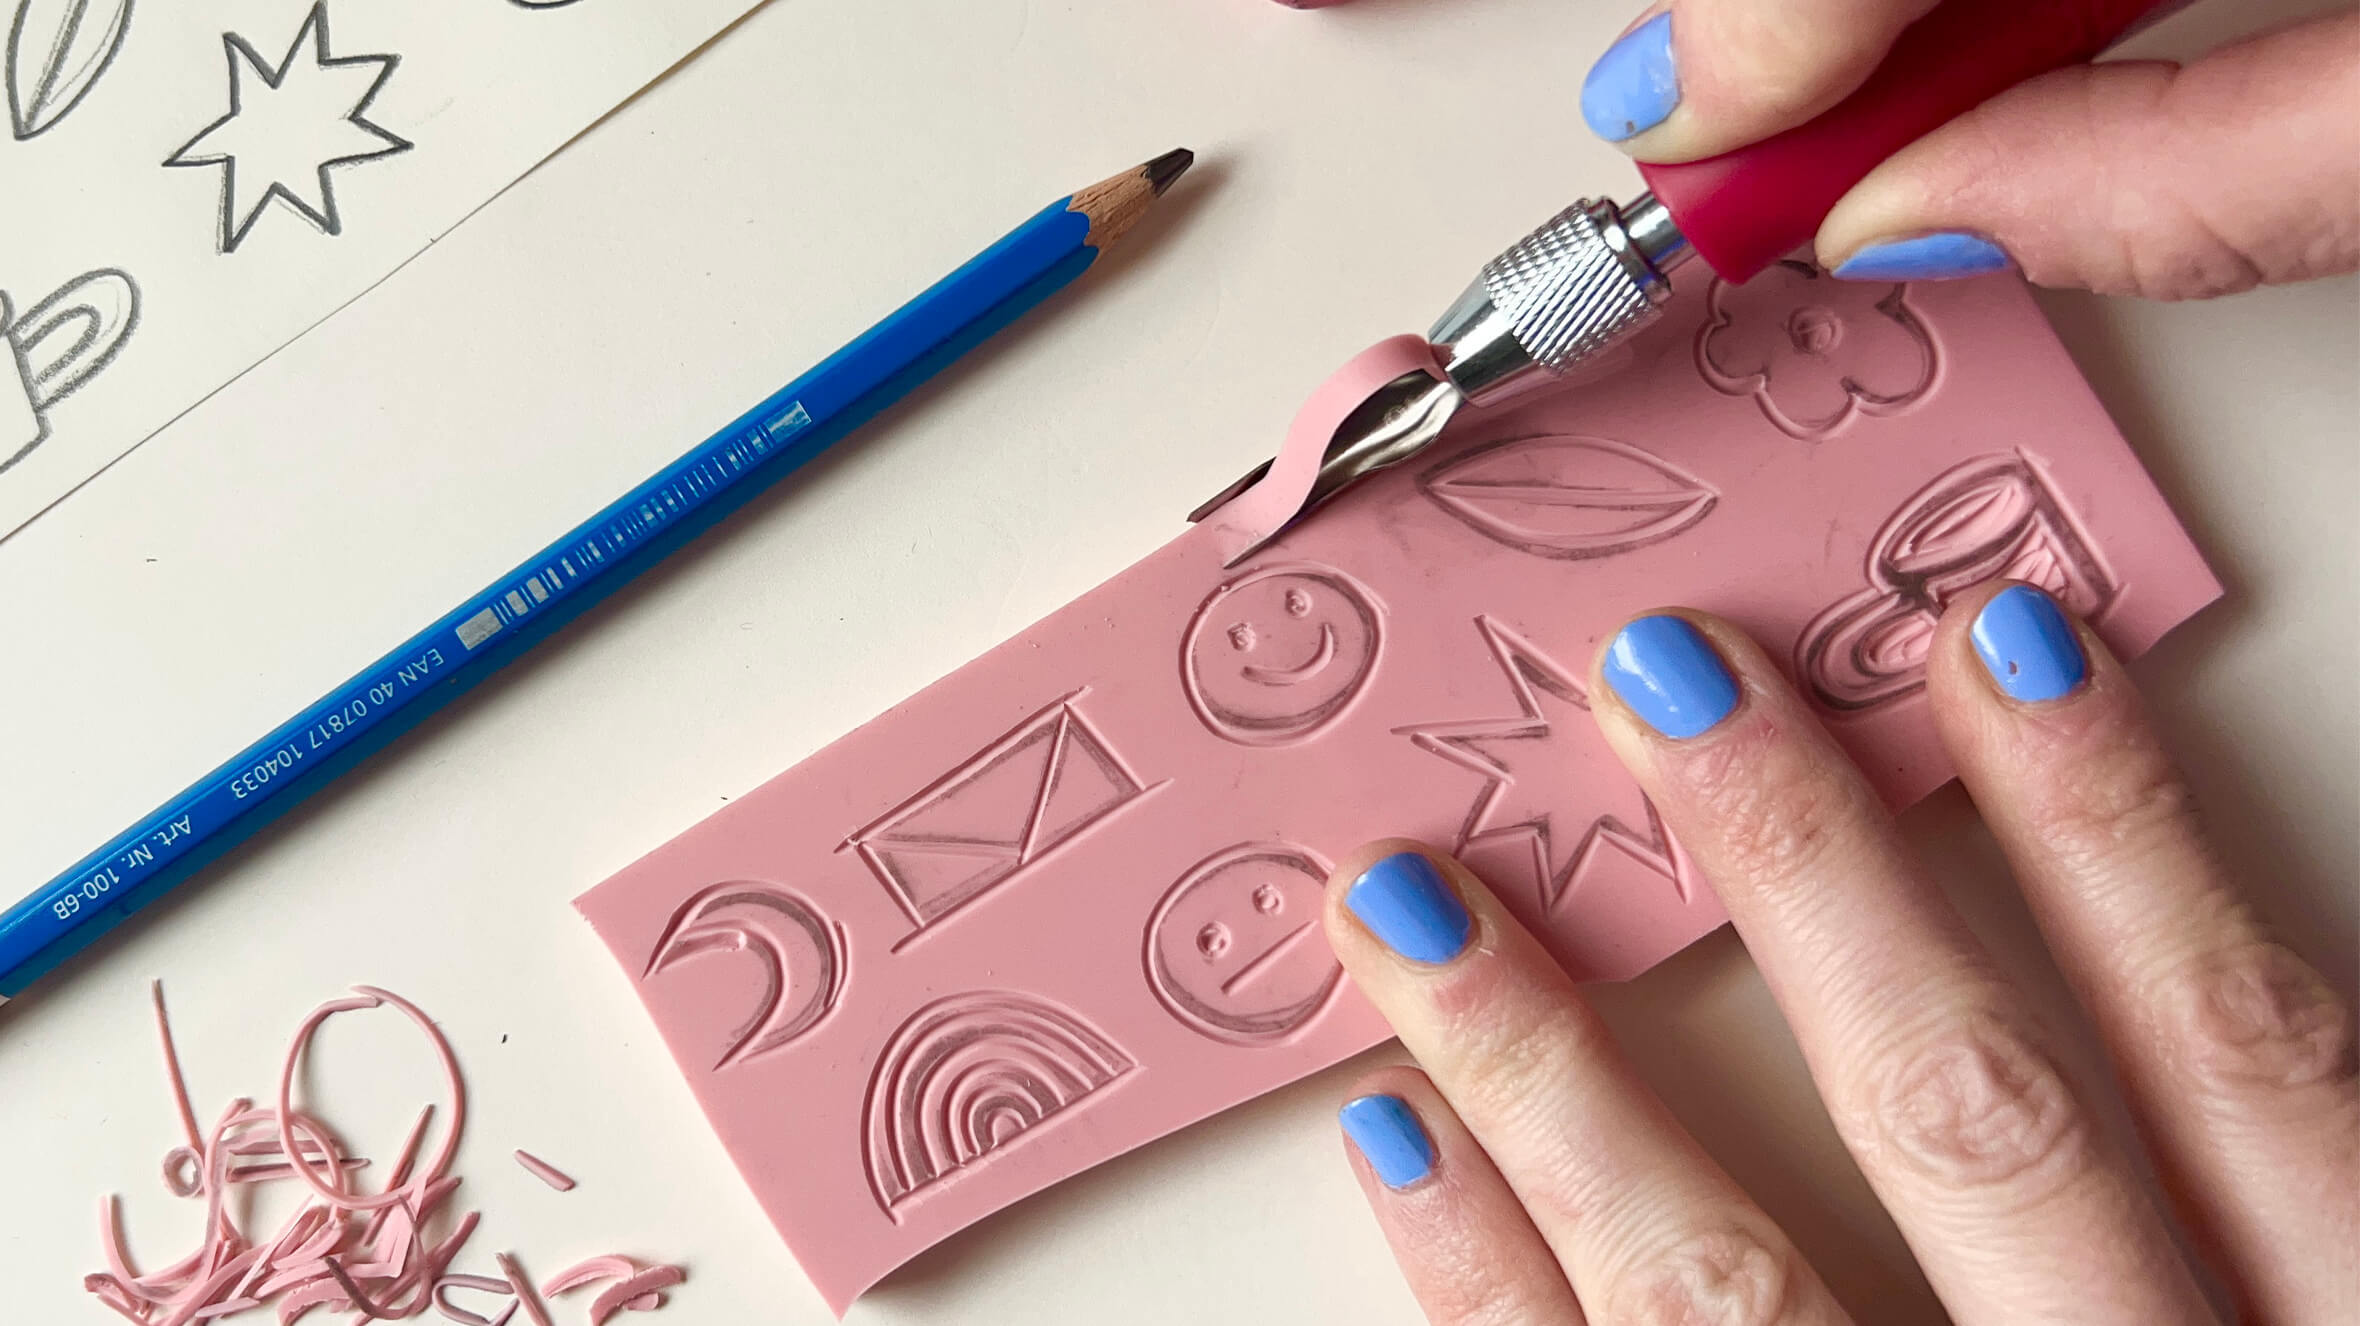
Step 5: Carve Details
Once all the outlining is finished, go in and carve away any details (i.e. the eyes and mouth of a smiley face, or the windows on a house). Use a larger tool (# 5) to carve away excess rubber around your outlines. To switch gouges, gently loosen the silver “chuck” on your tool (without removing it entirely). Your gouge should easily slide out, and a new one can be put in. Then tighten the chuck, and you’re good to go.
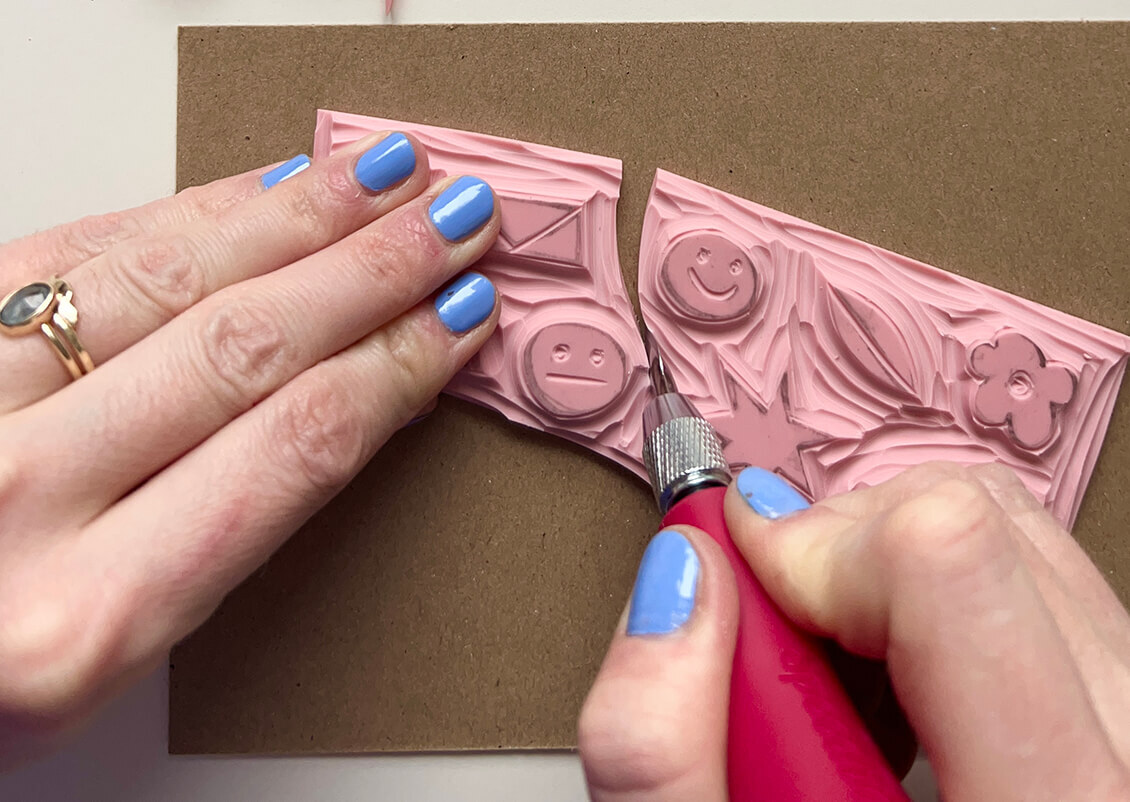
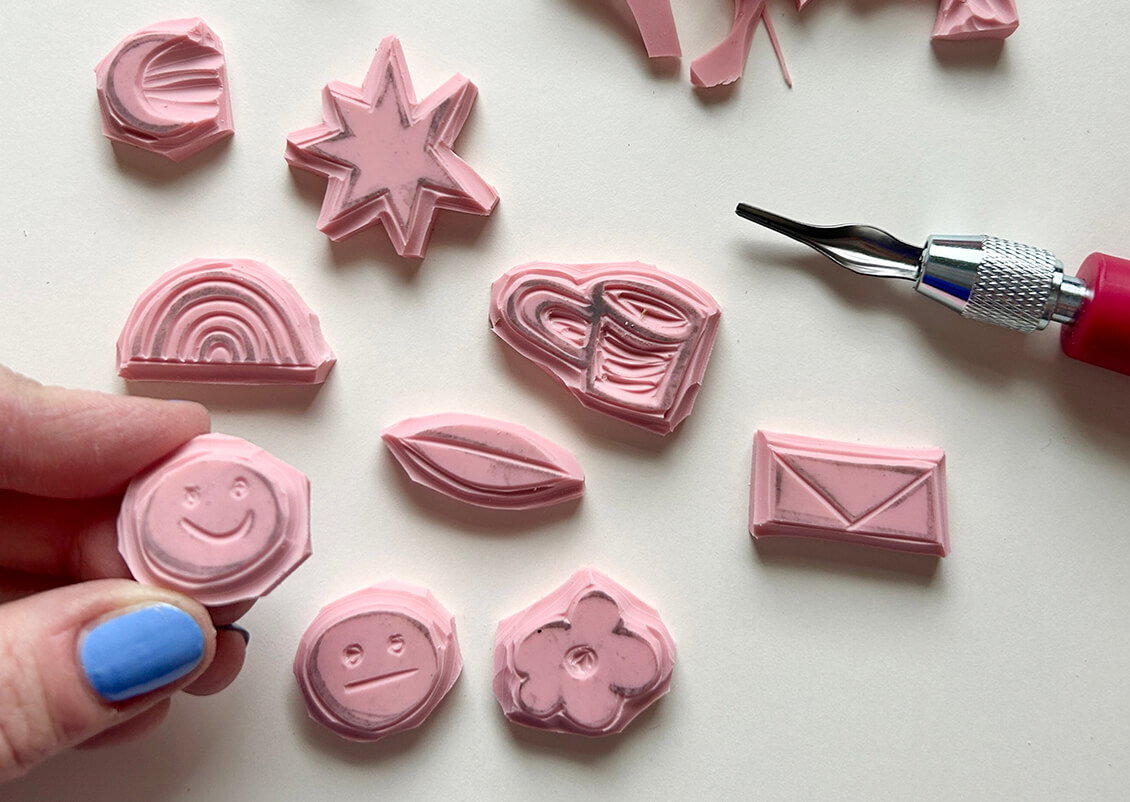
Step 6: Separate
To separate your stamps, use either a pair of scissors, or the #6 cutter, which acts like an X-acto knife. Leave a small border around each stamp so you have something to hold onto while printing (less inky fingers).
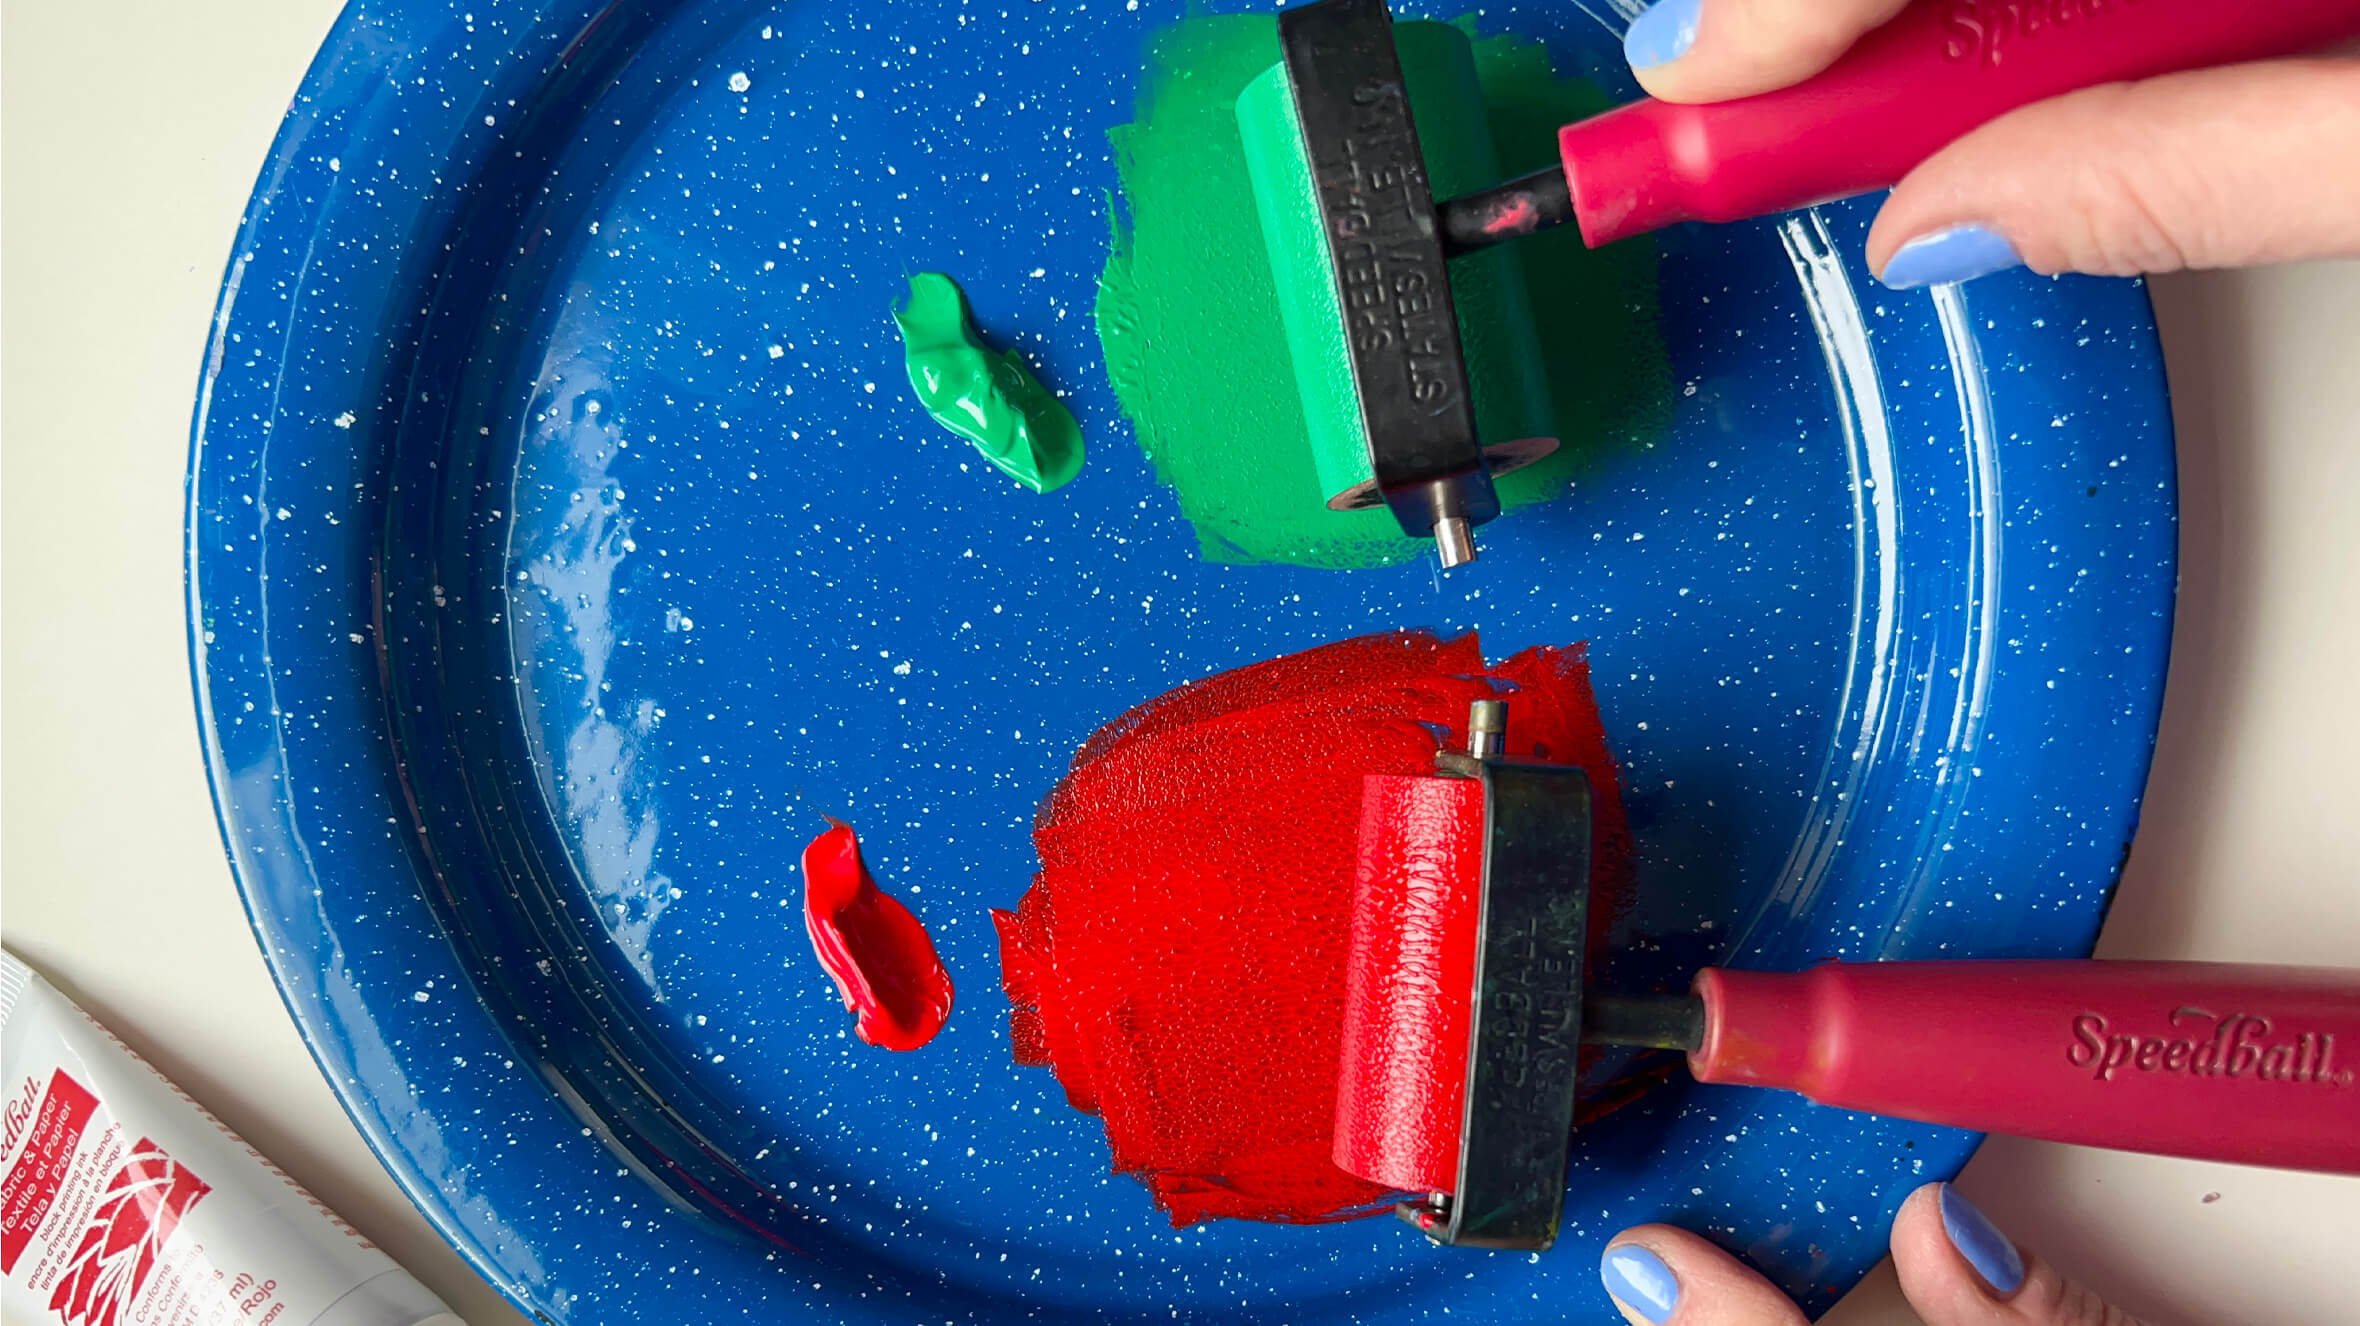
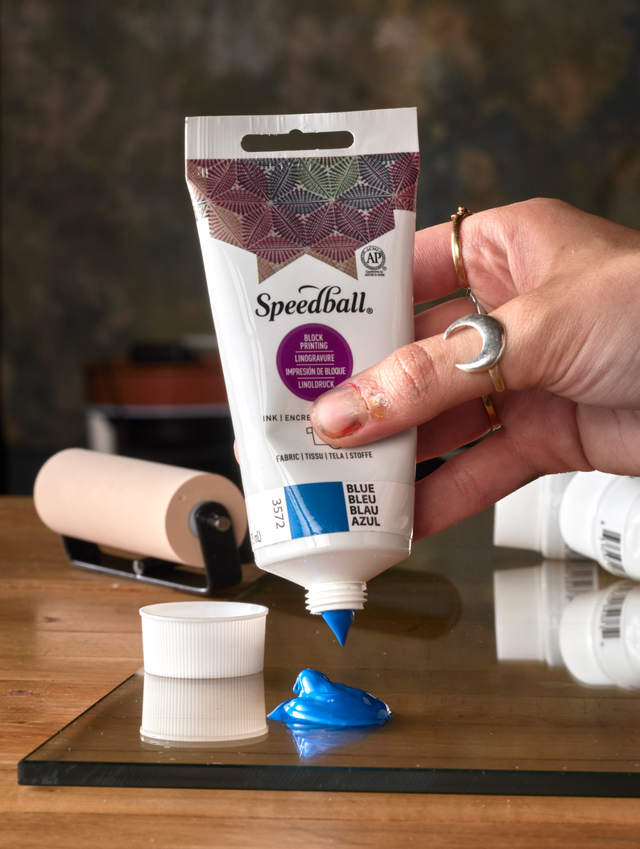
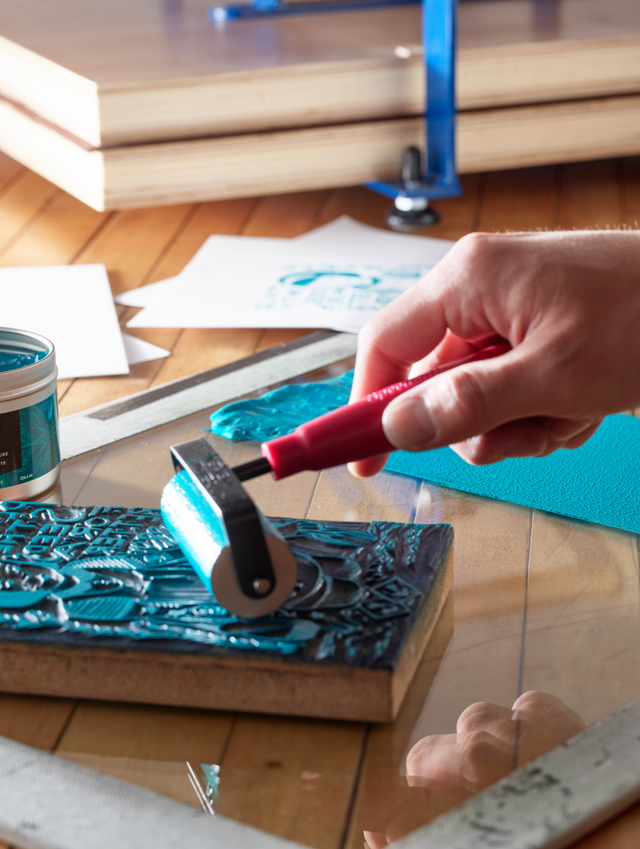
Step 7: Inking
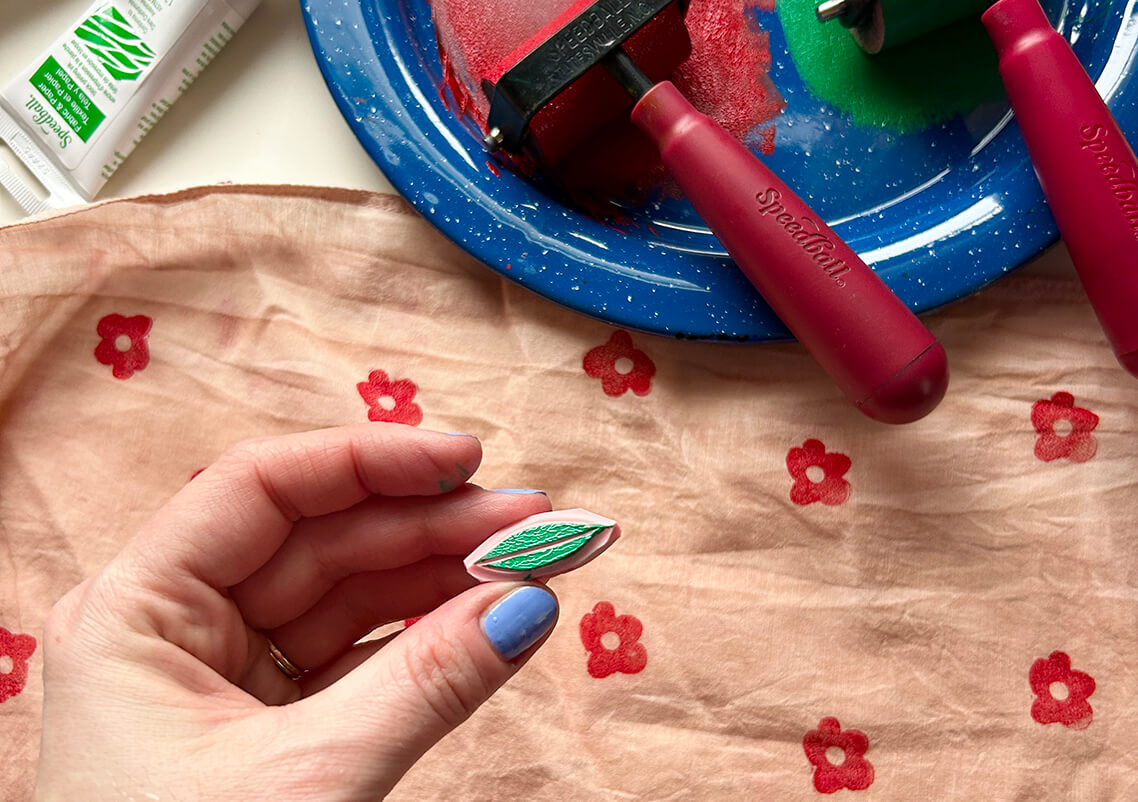
Printing time! Squeeze a small amount of ink onto your printing surface. Use your baren to roll out the ink; you want to avoid applying too much ink to your blocks, so keep rolling until the ink sounds like Velcro.
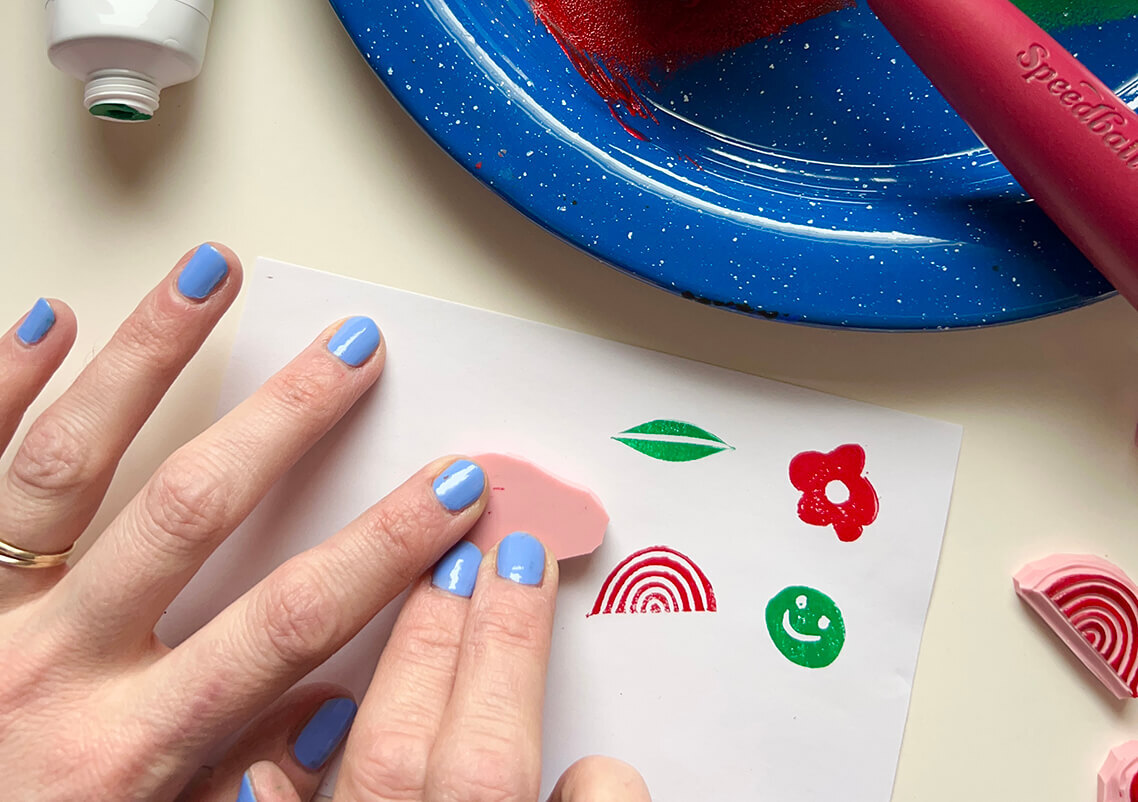
Step 8: Test Prints
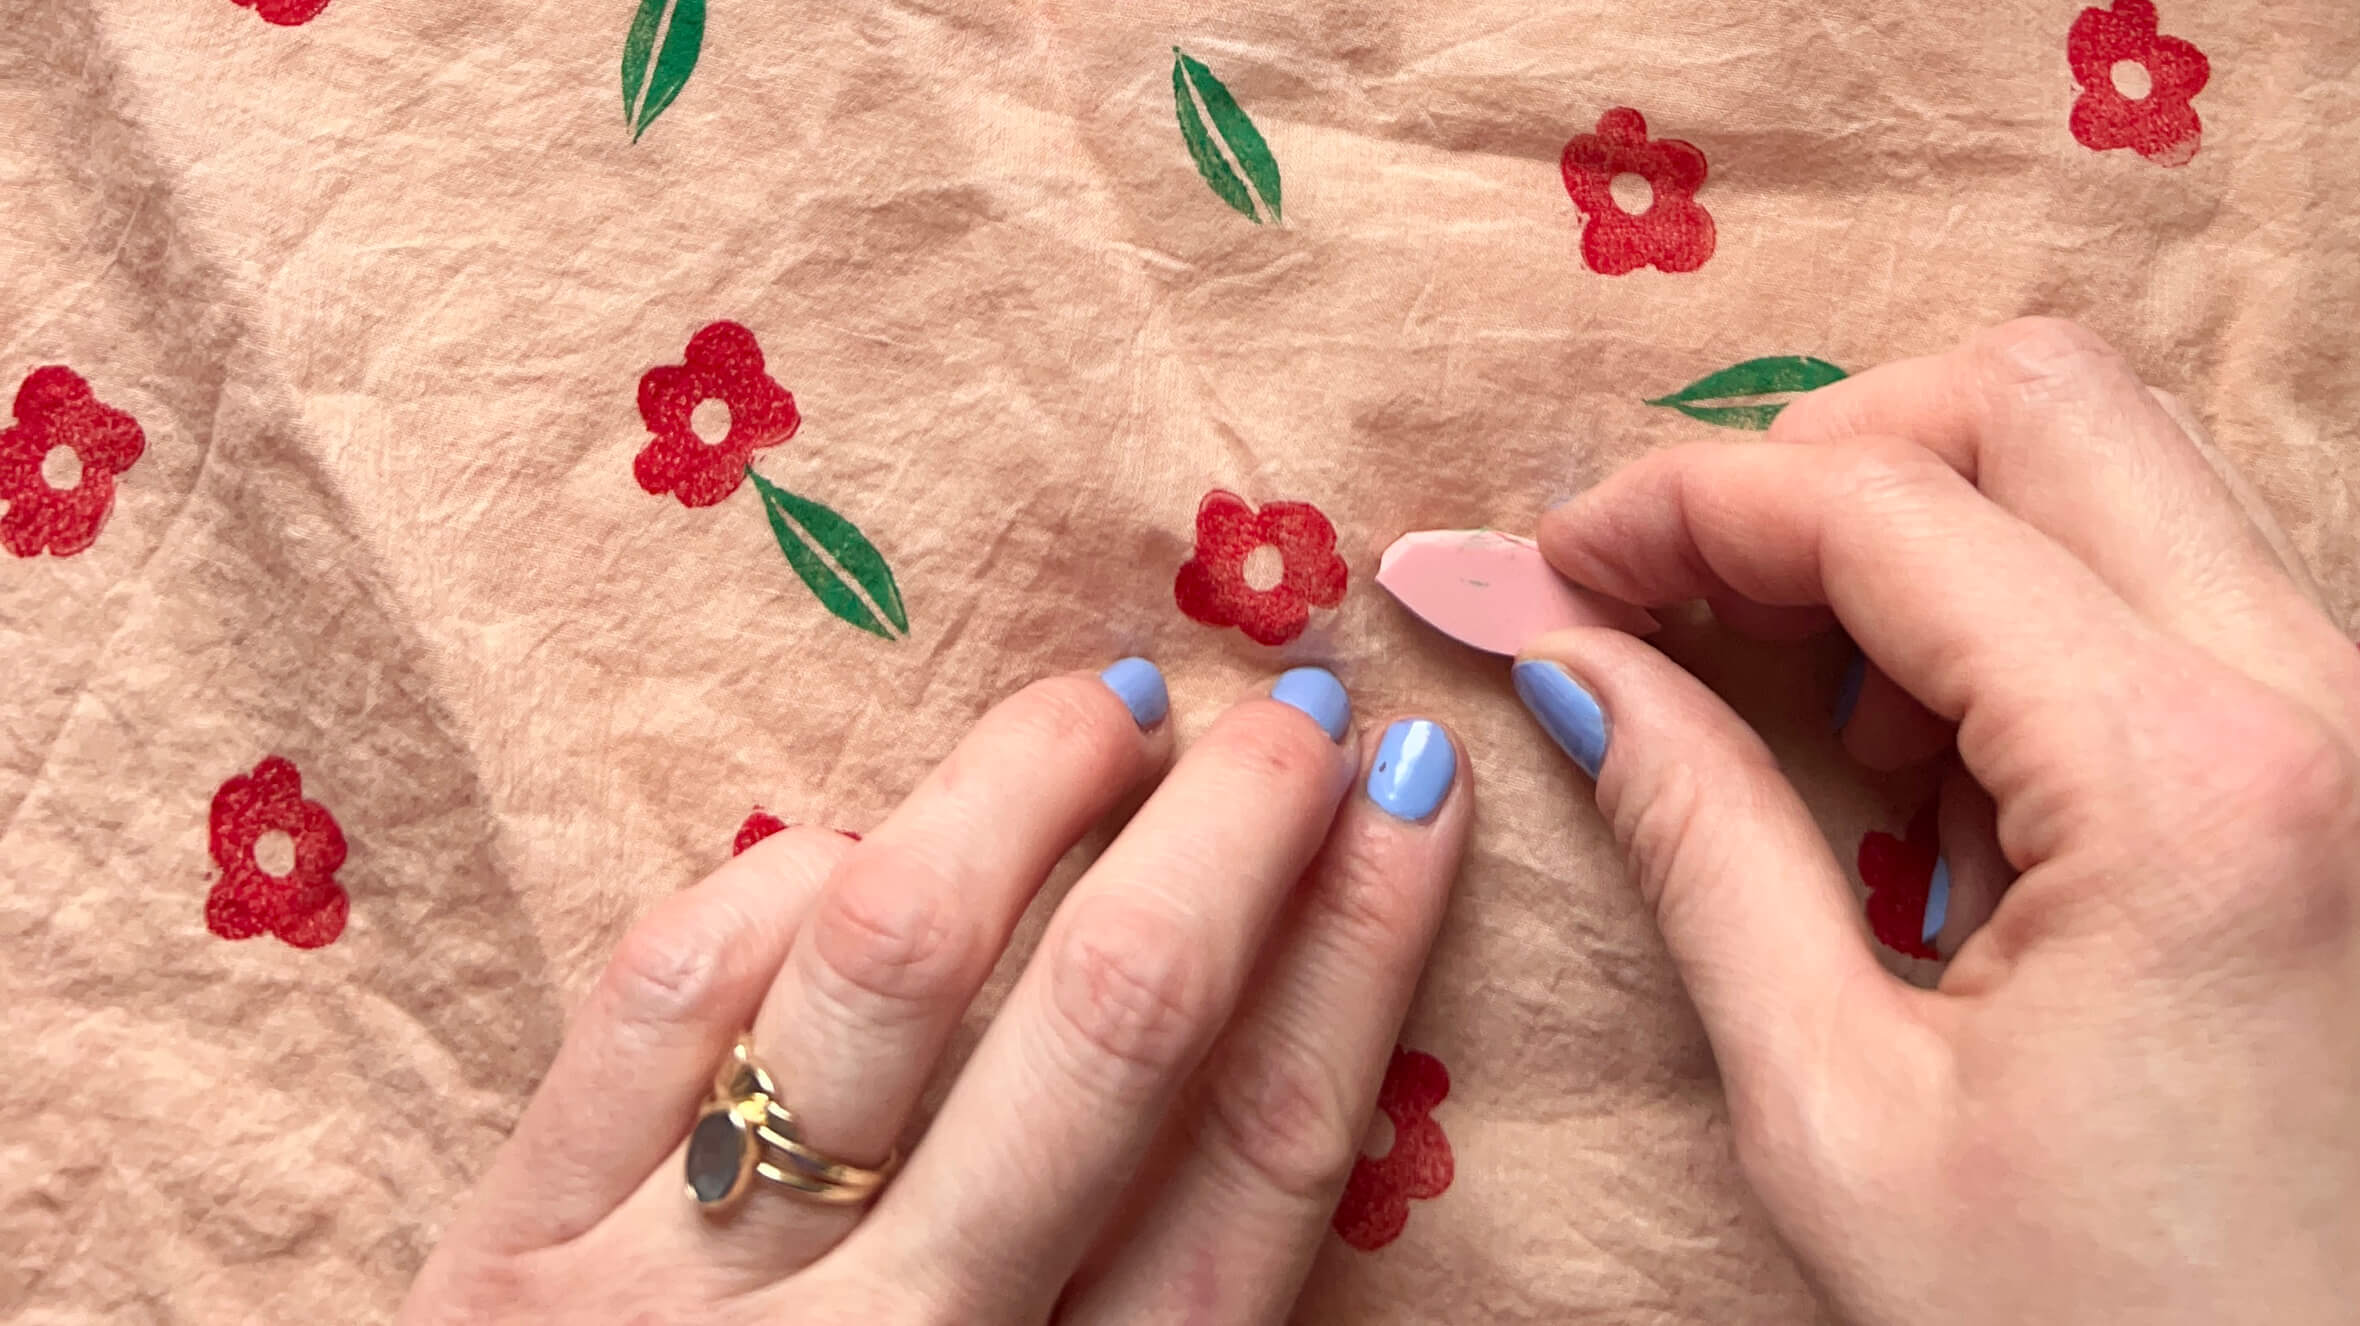
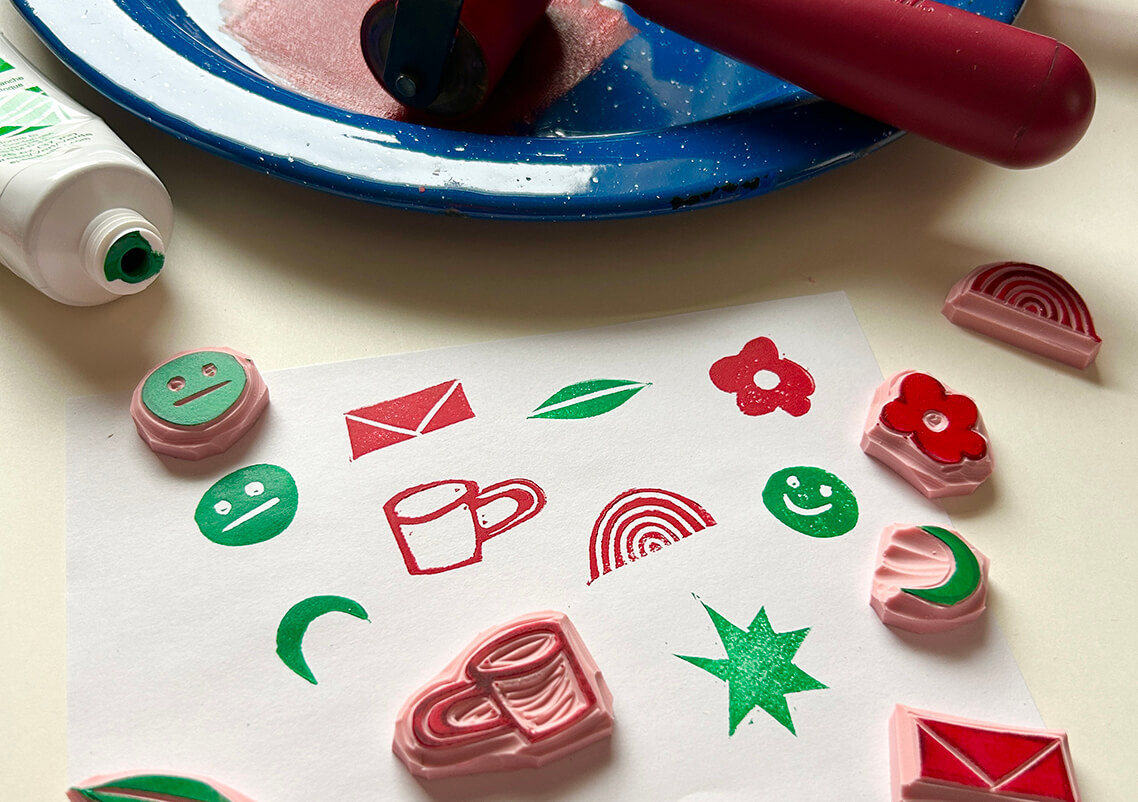
Apply several thin layers of ink to your blocks (keeping in mind that fabric printing requires a little more ink coverage than printing on paper), and flip each block over onto your fabric, in your preferred pattern. You may also want to do some test prints on paper before printing directly onto your fabric. In this case, we are using green and red inks, and alternating flowers and leaves across the bandana to create a repeating pattern (but doing a paper test print of all the emojis first!)
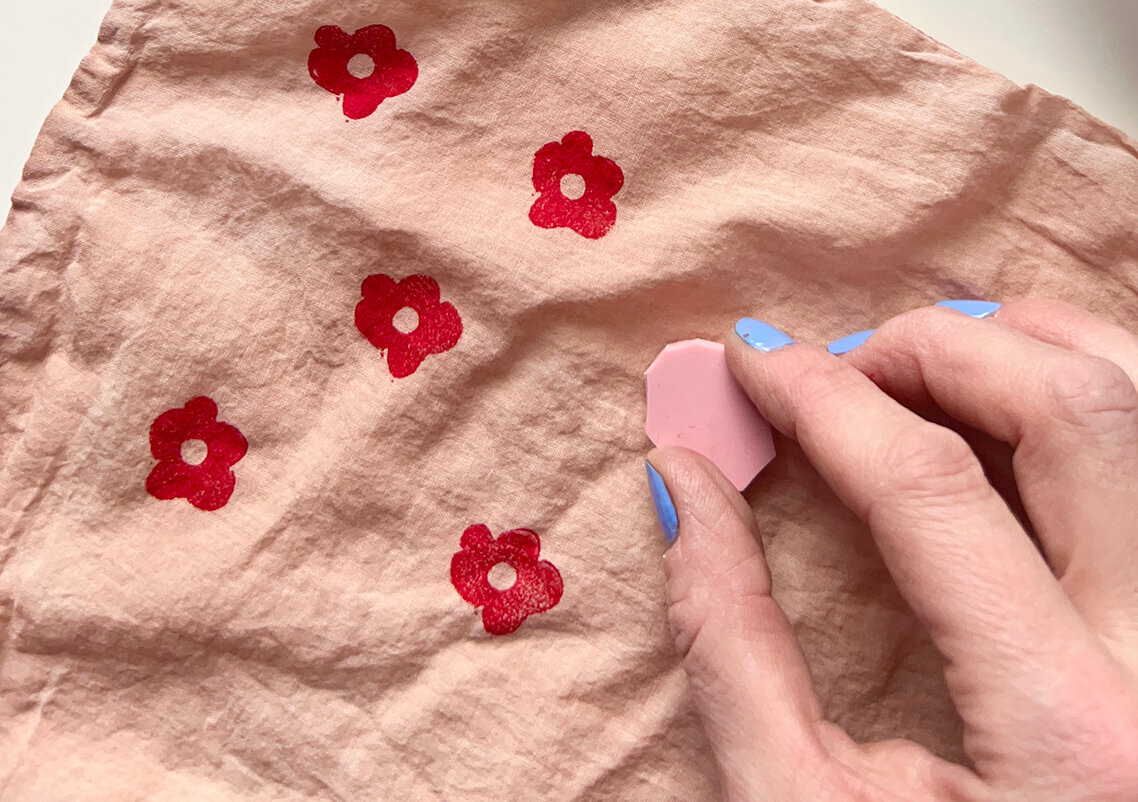
Step 9: Print your Fabric
Once your piece is complete, no need to heat set! Just leave your work to dry somewhere safe for about 5 days, and once dry, it’s ready to use or wear. The ink is permanent, and will last through washes and dries. Wash your stamps with soap and and water, dry thoroughly, and store out of the direct sun. Blockprinting on fabric is addictive, and there are so many possibilities for color and pattern combinations. Have fun printing!